
How to make a dog bed: I’ll admit this right away, I never thought I’d make a pet bed. Buying one seemed easier. But one afternoon, after my furry companion decided my freshly folded laundry was the perfect nap spot, I realized I had two choices: buy something overpriced or make something myself. I went ahead with the second option, and it turned out better than I expected.
Here’s what I’ll cover in this guide:
- Why I chose to create a resting spot instead of purchasing one.
- The materials I gathered (and some cheap alternatives).
- My simple step-by-step method, including a version that doesn’t require sewing.
- Creative variations I’ve tested (yes, including one made out of a sweater).
- How do I keep the cushion fresh and clean?
- Mistakes I made so you can skip them.
- Extra tips about comfort and treats.
- Quick answers to questions people often ask.
- Bonus ideas: design hacks, health considerations, and budget-friendly options
Why I Decided to DIY a Dog Bed
Buying a premade cushion was tempting-until I saw the price tags. Some looked stylish but flattened after a few weeks. Others were built tough but had covers that were impossible to wash.
Making my own gave me freedom:
- Size: My pup stretches like a yoga master, so I needed something bigger than the average.
- Fabric: Washable, durable, and less likely to shred after a week of scratching.
- Stuffing: Old pillows gave it fluff, and my old T-shirts gave it a scent like smell. He curled up instantly.
It also felt good to reuse materials. Instead of tossing worn-out bedding, I repurposed it. That alone saved money and gave me bragging rights in the “eco-friendly pet parent” category.
If you’re curious about how shop-bought versions compare, I shared thoughts in another post on beds for dogs.
What I Used (and What You Could Use Too)
I kept it simple, using what I already had:
- Fabric: An old blanket for durability.
- Scissors: For cutting straight lines (or at least close enough).
- Needle and thread: Though glue or a no-sew method works too.
- Filling: Two old pillows and a pile of worn shirts.
Other options include foam, quilt batting, or even shredded memory foam if you’ve got scraps lying around. I’ve even seen people use beanbag filler, but unless you enjoy vacuuming, I’d skip that one.
Step 1: Measuring
I stretched my companion out nose-to-tail and added several inches. Better too big than too small-he likes to sprawl.
Step 2: Cutting
I cut two equal rectangles from the fabric. For smaller pets, you’ll need less.
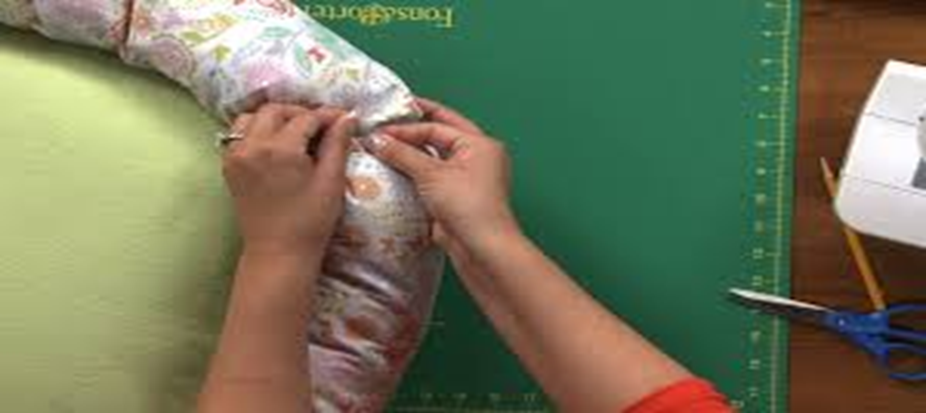
Step 3: Sewing or Tying
Two paths here:
- Sewing: I stitched three sides, left one open.
- No-sew: I cut strips along the edges and tied them together, like a fleece blanket project.
Step 4: Filling
I stuffed it with old pillows and shirts. He immediately sniffed and plopped down, like it was designed just for him.
Step 5: Closing
I stitched or tied the final side. Done. Tested and approved within minutes.
Variations I’ve Tried
After the first success, I experimented:
- Sweater Bed: Stuffed a sweater, stitched sleeves, instant cozy nest.
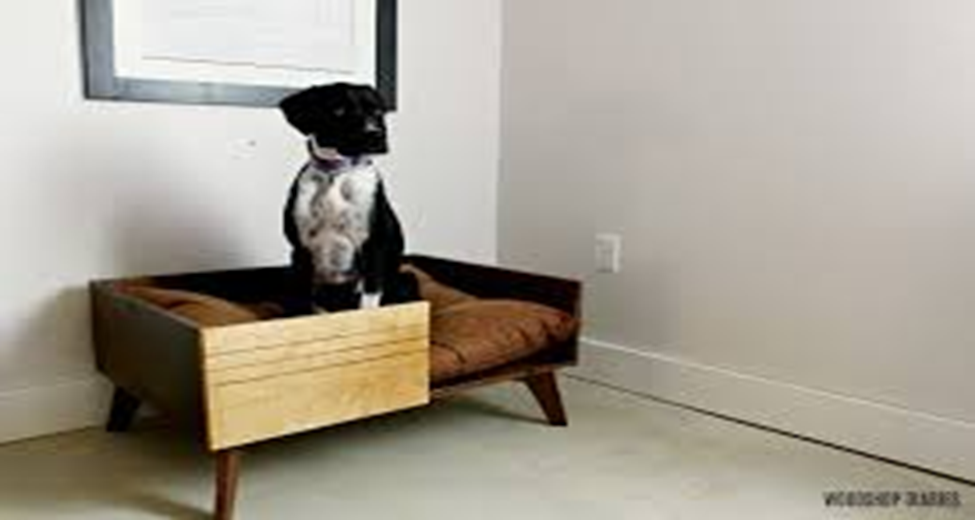
- Pallet Frame: Added a cushion on top of a wooden pallet for a rustic raised bed.
- Floor Pillow Version: Sewed together two oversized cushions for a giant resting pad.
- Recycled Crib Mattress: Perfect for large pets, especially with a washable sheet.
These variations gave me options depending on space, season, and mood.
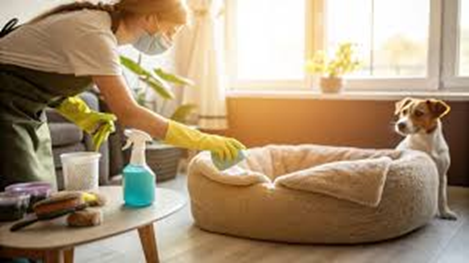
Cleaning and Maintenance (How I Made a Dog Bed)
Reality check: pets drag dirt inside. Mine treats mud like perfume. Keeping his cushion fresh became a must.
- I made two covers, swap one when washing the other.
- Weekly vacuum sessions handle hair and crumbs.
- Every few weeks, I fluff the filling outside.
It doesn’t stay spotless, but it remains manageable.
Mistakes I Made (Learn From Me)
- Using fragile fabric. It ripped in record time.
- Overstuffing. He ignored it because it looked more like a bouncy castle.
- Forgetting to prewash fabric. Shrinking turned my cover into a tight mess.
Lesson: Practical beats pretty every time.
Quick FAQ
Can I avoid sewing?)
Yes, the tie-knot method works with fleece or any non-fraying fabric.
What works for filling?
Pillows, foam, blankets, even shredded clothes. Just avoid materials that crumble.
How do I wash it?
If you built a cover, toss it in the machine. Otherwise, vacuum and spot clean until laundry day.
Comfort Boost: Treat Time
While working on the cushion, I used snacks to distract my pup. For small companions, especially, healthy treats matter. I use kibble, freeze-dried bites, jerky, cooked chicken, and certain fruits or veggies. The main rule: make sure they’re safe.
Extra Ideas to Improve Your DIY Dog Bed
Health-Friendly Choices
Older pets often need orthopedic support. Memory foam scraps can help. Puppies, on the other hand, might need chew-resistant covers.
Budget-Friendly Hacks
- Old jeans stitched together for a tough cover.
- Leftover moving blankets-they’re durable and cheap.
- Repurposed furniture cushions are free if you’re willing to upcycle.
Seasonal Switch-Ups
- Winter: Flannel or fleece for warmth.
- Summer: Breathable cotton to keep cool.
The Little Details That Make a Big Difference
- Washable layers: Even if you skip zippers, make a slip-on cover.
- Chew-proof edges: Double stitching helps.
- Non-slip backing: Old rug pads work wonders to stop sliding.
Why I’d Do It Again
Honestly, it was easier than I thought. It saved money, reduced waste, and gave my companion a custom resting spot. The best part? He loves it. Seeing him snooze happily makes the effort worth it.
You don’t need to be crafty. You only need scissors, fabric, and a bit of patience. And if it turns out lopsided? Pets don’t care. They’ll still curl up and dream away.
Final Thoughts
Making a bed wasn’t just about saving money. It was about creating comfort that fit my companion’s needs. And every time I see him curled up, I know it worked.
So if you’re considering it, try it. It’s simpler than it looks, easier on your wallet, and might just become your pet’s new favorite spot.