
I’ve always believed my pets deserve more than just a cushion tossed in the corner. That’s why I decided to roll up my sleeves and build a Wooden dog bed myself. Spoiler alert: my furry friend now spends more time on it than on the couch, which is a win for me.
Before I get into the details, here’s a quick preview of what you’ll learn in this guide:
- Why I chose to build instead of buy.
- The tools and materials I used.
- Step-by-step instructions with tips I learned the hard way.
- Fun add-ons to make the bed more functional.
- Safety and comfort notes for pets.
- Variations for different pet sizes and styles.
- FAQs to clear up common concerns.
Now, let’s get into the statement. Grab your tape measure, and let’s make something both practical and stylish.
Why I Decided to Build
I’ll be honest—I love spoiling my pets. Although store-bought dog beds have two major problems: they either fall apart too quickly or clash with my living room.
By building one myself, I could:
- Adjust the size to fit my dog.
- Match the color with my furniture.
- Save money compared to “designer” pet beds.
- Get the satisfaction of saying, “Yes, I made that.”
If you’ve read my post on luxury dog beds, you already know I care about comfort and style. This time, though, I wanted durability with a personal touch.
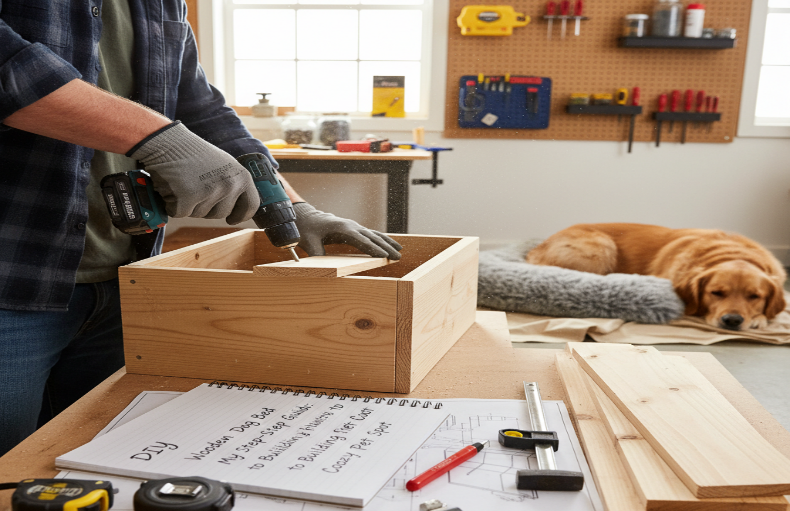
Tools and Materials I Used (Dog Bed Diy Wood)
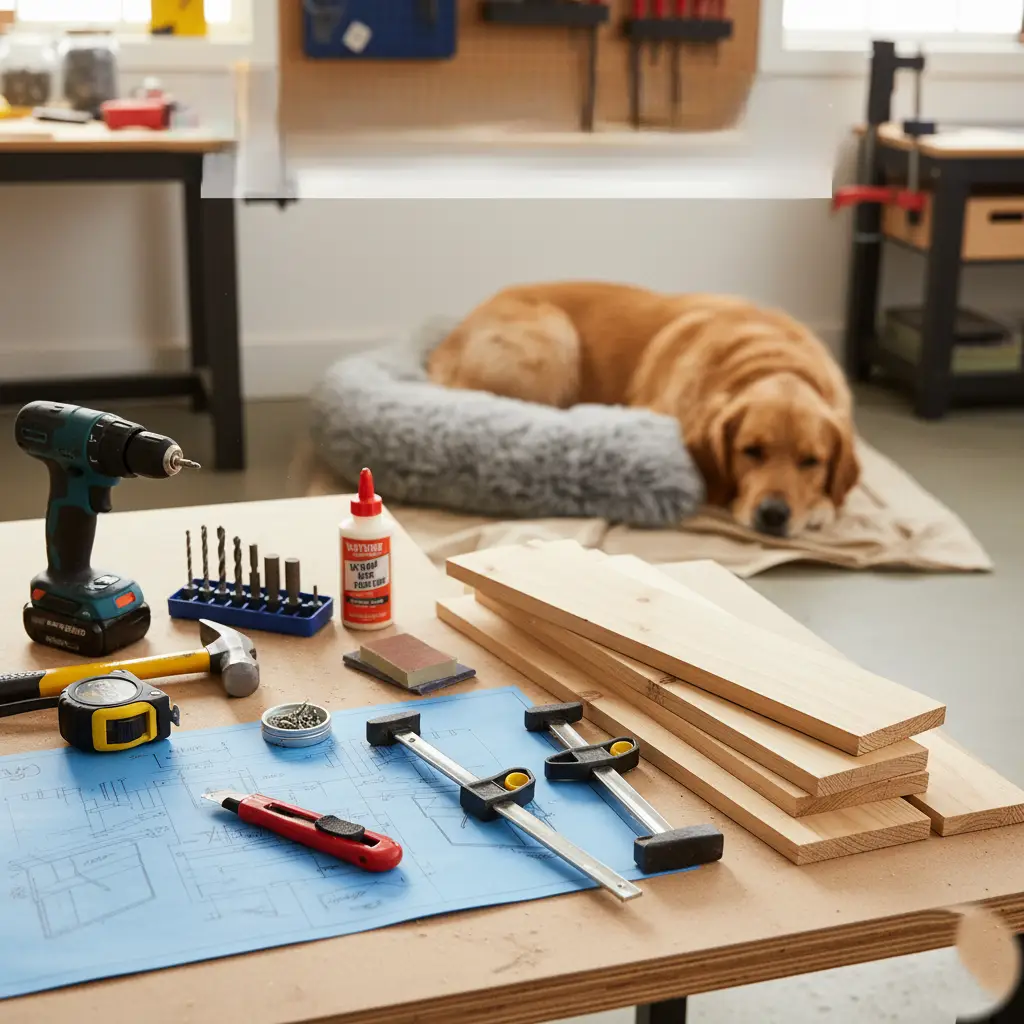
This project does not require a full workshop, but you will need some basics.
Tool
- Drill (cordless makes life easier).
- Jigsaw and/or miter saw.
- Sander.
- Measuring tape.
- Square for straight cuts.
- Workbench (trust me, balancing wood on your knees isn’t ideal).
Materials
- Plywood sheet (3/4” thick).
- 1×4 and 2×4 boards.
- Screws (I used Kreg pocket screws, but regular wood screws work too).
- Wood glue.
- Felt furniture pads (to protect the floor).
- Paint or stain.
- Optional: trunk handles, decorative trim.
If you’ve ever built something small like my beds for rabbits, you’ll see a lot of overlap here.
Step 1: Measure and Plan
The first step is always measuring your pet. Mine stretches out like royalty, so I needed extra length. The base of my design to was about 30” x 24”, which works best for small to medium pets. For larger dogs, as to increase the dimensions.
I sketched a quick drawing (nothing fancy-think napkin doodle). The idea was a raised wooden frame with a cushion inside. Simple, sturdy, and clean-looking.
Step 2: Cutting the Base and Rails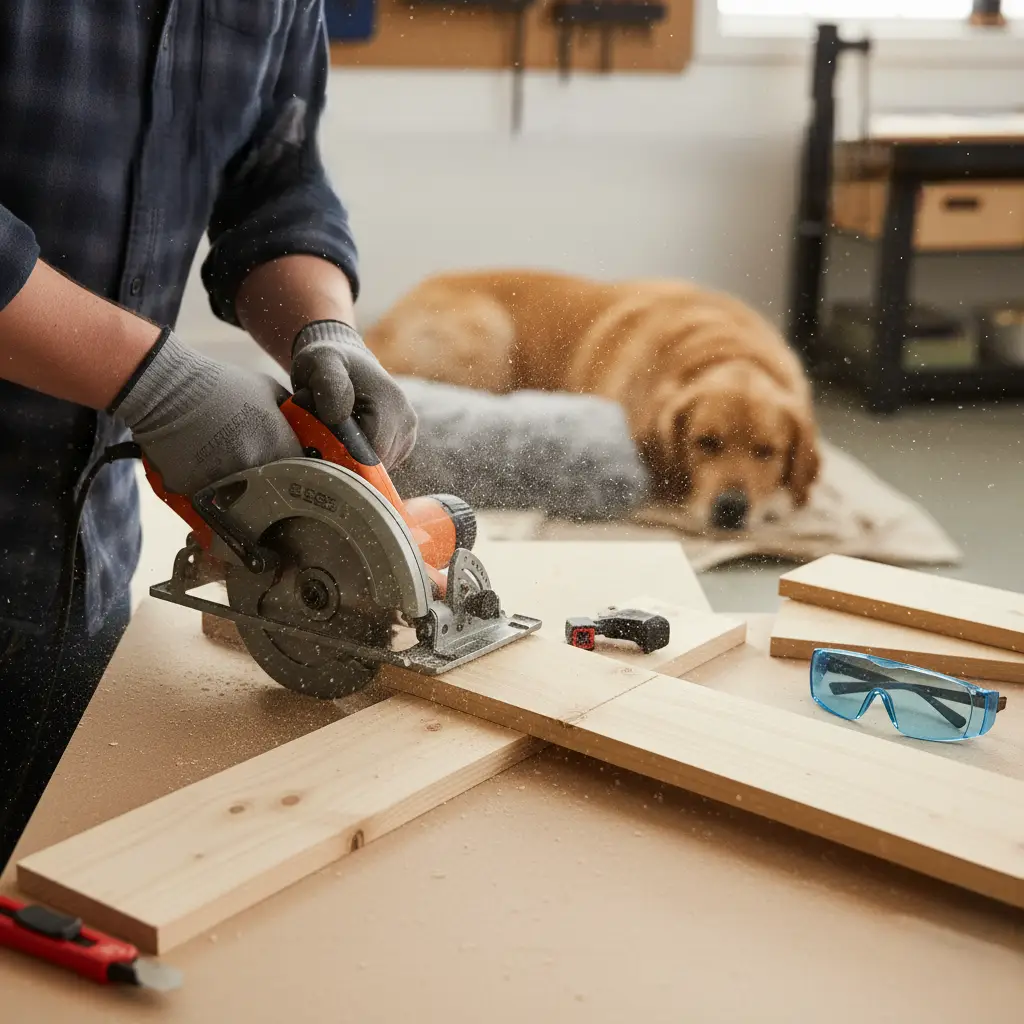
I cut a plywood piece to serve as the base. Then I trimmed my side rails and posts to size. The rails were about 4 inches tall, which is enough to hold the cushion in place without blocking my dog’s view of the room.
Tip: Sand your pieces before assembling. It’s much easier than trying to smooth rough edges once everything is nailed together.
Step 3: Attaching Side Rail
With the base laid flat, I attached the side rails using wood glue and screws. To keep things square, I used my workbench as a guide.
This is when I realized the value of having a square tool. Without it, I might be writing about my new “dog trapezoid” instead of a bed.
Step 4: Adding Corner Posts
Next, I inserted posts into each corner. They weren’t tall—about 8 inches—just enough to make the frame sturdy. I pre-drilled holes to avoid splitting the wood, then secured them with screws.
If you’re making this for a larger pet, you might want taller posts for more support.
-
Step 5: Installing the Top Rails. (Dog Bed Diy Wood)
I attached the top rails flush with the corner posts. This created a box-like frame that looked surprisingly professional (not bad for a Saturday project).
A small scrap of wood helped with spacing. Think of it like training wheels for the drill.
Step 6: Sanding and Smoothing
No one—dog or human—likes splinters. I sanded everything with 150-grit paper, then went over it again with 220 for a smooth finish. My dog doesn’t say much, but I imagine he appreciates the effort.
Step 7: Finishing Touches (Dog Bed Diy Wood)
Now the fun part: color. I chose a walnut stain to match my coffee table. You can paint, stain, or even leave it natural if you prefer a rustic vibe.
Once dry, I added felt pads to the bottom to keep the floor scratch-free. Optional trunk handles on the sides made it easier to move around for cleaning.
Step 8: The Cushion
What’s a frame without a comfy cushion? I used two bed pillows inside a removable pillowcase I stitched. It’s washable, soft, and easy to replace if needed.
For pets that chew, you may want a tougher fabric like canvas or outdoor material.
Bonus Add-Ons and Ideas (Dog Bed Diy Wood)
- (Building your own bed means you can get creative. Here are a few extras that work well:
- Storage drawer underneath for toys.
- Raised legs to allow airflow (great for hot climates).
- Outdoor version with waterproof paint.
- Rustic pallet look for farmhouse décor.
- Custom engraving of your pet’s name.
Safety and Comfort Notes(Dog Bed Diu Wood)
A few things I always keep in mind:
smooth edges matter.
- Use pet-safe finishes (no toxic fumes).
- Make sure screws are flush or countersunk.
- Keep the cushion thick enough for joint support.
Your pet’s comfort is the goal here.
How Long Did It Take?
The actual cutting and assembly took me about 3 hours. Adding stain and waiting for it to dry took another day. If you’re new to woodworking, give yourself a weekend.
Mistakes I Made (So You Don’t Have To)
- I didn’t pre-drill one corner, and yes, the wood split.
- My first cushion attempt was way too big and puffed out like a loaf of bread.
- I underestimated the amount of sanding required. My arms got the workout I didn’t expect.
Cost Breakdown
- Wood: $30
- Screws and glue: $10
- Stain and pads: $15
- Cushion and pillowcases: $20
Total: $75 (give or take). That’s much less than most “fancy” dog beds I saw online.
Variations for Different Pets (Dog Bed Diy Wood)
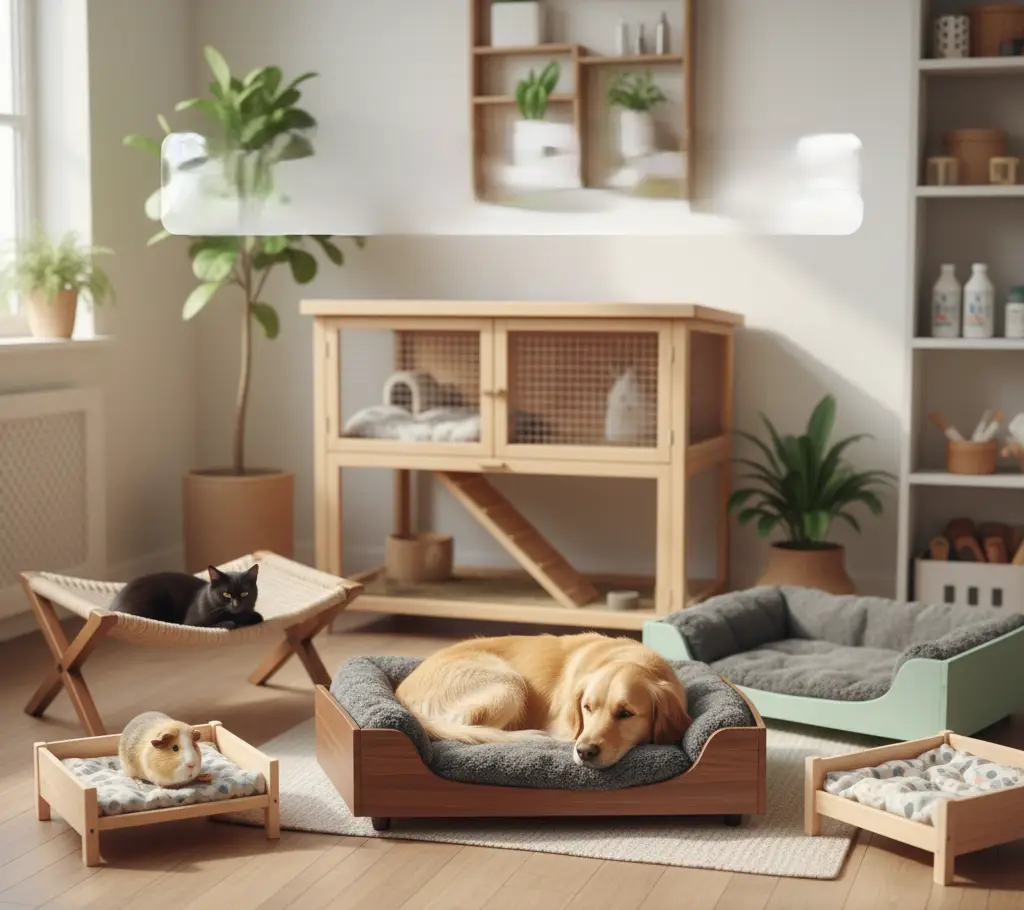
This adaptable bed design works for a pair of dogs and cats. cats, you can make a smaller version and even add a scratching post to keep them entertained. For rabbits, a lower frame made with chew-safe wood works best (check out my guide to rabbit beds). For big dogs, just make the bed larger, along with using a strong wood, so your furry friend stays safe, steady, and soft.
Q: Can I build this without power tools?
Technically, yes, but I wouldn’t recommend it. Unless you want a workout with a hand saw.
Q: How do I clean it?
Vacuum the cushion regularly and wipe down the frame with a damp cloth. The stain helps resist stains.
Q: Is plywood safe for pets?
Yes — as long as you use non-toxic finishes and sand the wood smooth, it’s safe for your cat to enjoy.
Q: Can I make it foldable?
Yes, but that’s a more advanced project with hinges and latches.
Q: Can I make it foldable?
Yes, but that’s a more advanced project with hinges and latches.
Q: Will my dog actually use it?
Mine did after I bribed him with treats. Your mileage may vary
Final Thoughts
Building this Diy wood dog bed was worth every sawdust sneeze. My dog has a sturdy, stylish spot to rest, and I get the joy of knowing I made it with my own hands.
If you’re thinking of making one, don’t overthink it. Start with the basics, keep it safe, and add your personal touch. And hey, if you mess up, your dog won’t judge—probably.
.