
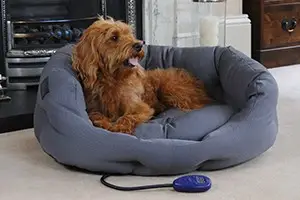
My dog gets cold faster than my coffee cools down in winter. Small breeds and short-haired dogs often feel the chill, and mine was no exception. Instead of piling three blankets on him and hoping for the best, I made him a heated dog bed. Not complicated. Not expensive. Just practical.
I’ll share how I built it, the mistakes I avoided, and a few clever tricks you can try yourself. If you’ve read my guide on making a dog bed, this project is like the warm, upgraded version.
Quick Look at What You’ll Learn
- Why a Heated Dog Bed Can Be a Game-Changer During Chilly Months.
- The supplies I gathered (with some budget-friendly hacks).
- Step-by-step instructions for creating one at home.
- Safety measures I took to minimize the risk of warmth.
- Non-electric alternatives if you prefer a cord-free option.
- Cleaning, maintenance, and comfort tips to extend its life.
- Extra insights for senior pets, puppies, and anxious animals.
Why Warmth Matters for Pets
Adding warmth to a sleeping space is more than just a luxury—it supports health and comfort. Here’s why:
- Helps with stiff joints: Older pets often struggle with arthritis. Heat eases muscle tension and makes it easier for them to move.
- Supports puppies: Young pups can’t regulate body heat well. A steady warm spot prevents chills.
- Improves rest quality: Cold nights often cause restless sleep and which affects both pets and owners.
- Saves energy: Shivering is how pets warm themselves, but it burns calories quickly. Warm bedding conserves energy.
And yes—when your companion is warm and settled, you sleep better too. No more midnight sofa-burrowing missions.
Supplies I Used in my heated dog bed (and My Money-Saving Hacks)
Here’s what I gathered to put the bed together:
- A small heating pad (preferably one without auto-shutoff for consistent warmth).
- Two pillowcases (same size—standard or queen works).
- An old wool sweater or any thick insulating fabric.
- Stuffing: polyfill, an old pillow, or even repurposed clothing.
- Basic sewing tools: scissors, thread, pins, needle, or sewing machine.
- Optional: a basket or crate to keep the cushion in place.
Tip: Check thrift stores or your storage for old bedding. I repurposed a sweater and a pillow that had lost its shape—free materials that worked perfectly.
Step-by-Step: Building the Heated Bed
Step 1: Close the Inner Case
Take one pillowcase (the less-pretty one) and sew one side shut. This acts as the internal lining.
Step 2: Box the Corners
To give it volume, sew across each corner about five inches in. This creates a boxed cushion shape that holds stuffing better.
Step 3: Leave a Stuffing Hole
Rip one seam open for adding filler later. Don’t worry if it looks rough—it’ll be hidden.
Step 4: Add Stuffing Generously
I stuffed until the pillow felt firm when I leaned on it. Overstuffing prevents sagging and creates a supportive base.
Step 5: Prepare the Heating Pad
If yours has a vinyl cover, remove it. Then wrap the pad in wool or thick fabric to insulate the heat. Thin fabric won’t provide enough protection.
Step 6: Create a Pad Pocket
Sew a simple pocket out of wool to slide the heating pad in. Ensure there is sufficient room for the cord to pass through without being pulled.
Step 7: Assemble Everything in your heated dog bed
Slip the stuffed cushion into the second pillowcase, then place the heating pad pocket between the two layers. This way, the warmth flows through, but there’s no direct contact.
Step 8: The Test Run your heated dog bed
Place it on the floor and plug it in, and invite your furry friend over. Mine curled up instantly—tail wag approved.
Safety First: Rules I Followed
Warmth is wonderful, but safety always comes first. Here’s what I kept in mind:
- Never leave the bed plugged in overnight or when away.
- Inspected the heating pad daily for signs of wear.
- Always used wool as a barrier—heat-resistant and safe.
- Wash the outer pillowcase weekly.
If your pup is a chewer, cords can be dangerous. In that case, stick with cord-free alternatives.
Non-Electric Alternatives
Sometimes I skip electricity altogether. Here are safe, easy options:
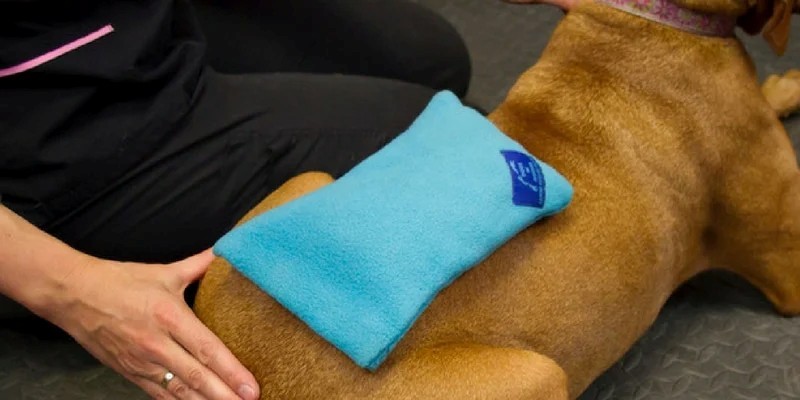
- Microwavable rice sock: stays warm for 2-3 hours.
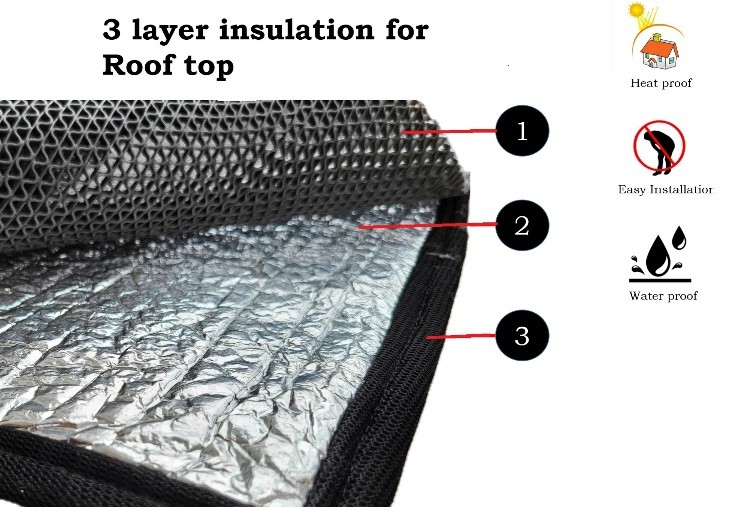
- Reflective thermal mats: bounce back body heat naturally.
- Layered fleece blankets: create insulation inside a basket or crate.
These aren’t as steady as electric heat but are safer for curious chewers.
Beyond the Basics: Making It Even Better
After building the first version, I added a few upgrades:
- Removable covers: A zippered pillowcase makes washing easier.
- Cedar chips inside stuffing: Naturally repel fleas and add freshness.
- Elevated basket: Keeps the bed off cold floors and drafts.
- Double insulation: Adding a reflective mat under the cushion helped trap warmth.
FAQs I Often Get
Q: Can I leave it on all night?
I don’t. Turning it off when I sleep feels safer.
Q: Is it okay for young pups?
Yes, but only under supervision and always on the lowest setting.
Q: My pet chews cords-what now?
Go for a self-warming mat or thermal-lined cushion instead.
Q: Can large breeds use this, too?
Absolutely. Just size up with a bigger pillow or even a twin-size mattress topper.
Extra Care Tips
- Weekly washes: Keeps odors and fur buildup under control.
- Seasonal refresh: Replace stuffing once or twice a year to maintain support.
- Rotation: Place the bed in different spots—near a sunny window in the day, a cozier corner at night.
Special Considerations for Different Pets
- Senior animals: Add orthopedic foam under the heated cushion for joint support.
- Anxious pets: Warmth helps calm nerves. Pair with a blanket carrying your scent.
- Outdoor pets: Never use electric pads outside. Opt for straw-filled insulated shelters instead.
Final Thoughts
Creating a heated dog bed wasn’t just about comfort—it was about health, safety, and saving money. Store-bought heated cushions can be pricey, but this DIY method gave me control over materials, insulation, and safety features.
My furry friend is happier, cozier, and far less likely to sneak into my bed every frosty night. Best of all, I gained the satisfaction of building something useful with my own hands.
If you love your companion and want to make winters more bearable, give this project a try. It’s easy, affordable, and guaranteed to earn you extra tail wags.