
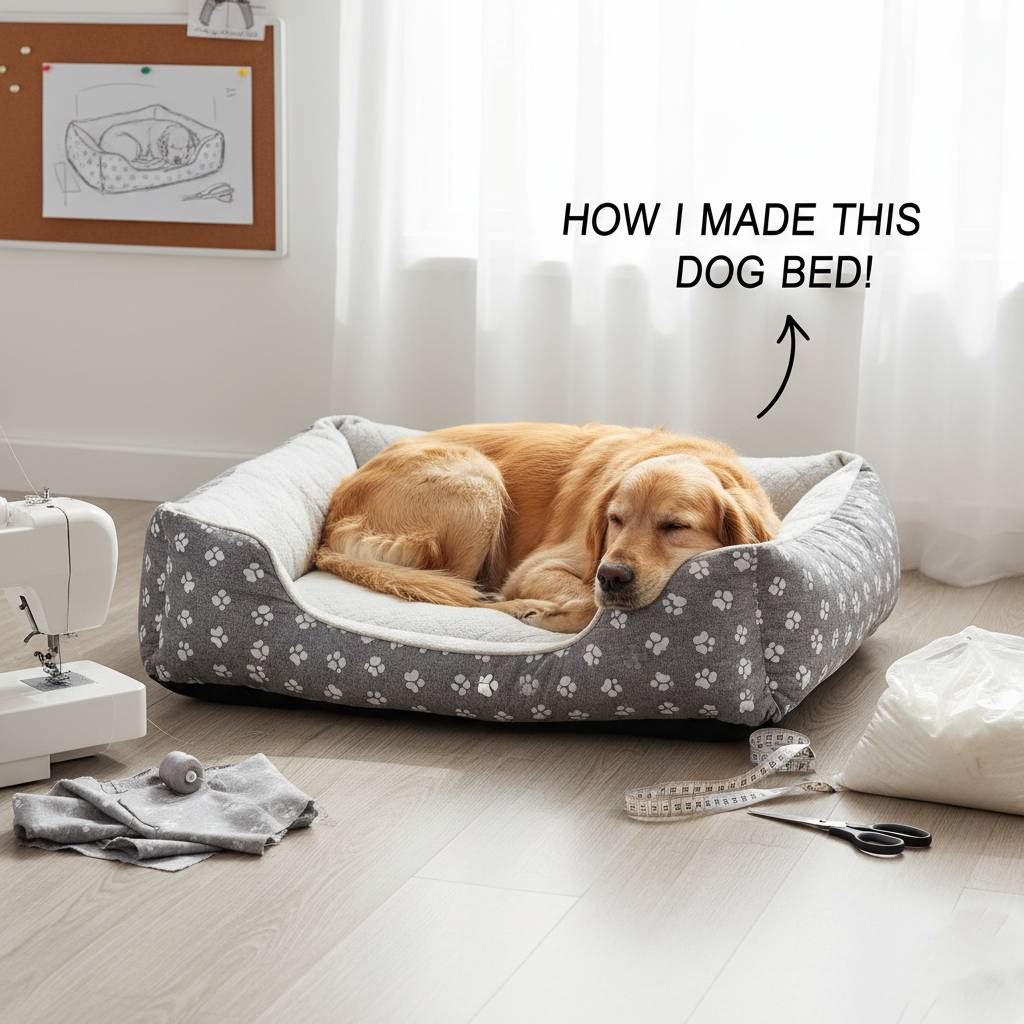
Tired of buying dog beds that fall apart after a few washes? I was, too. My growing pup outpaced every store-bought option I tried. Within months, the seams would rip, the stuffing would clump, and the whole thing would become impossible to clean. That’s when I decided to make my own dog bed with sides – one that’s cost-effective, customizable, and washable.
For me, it started when our puppy outgrew his old fleece bed. He sprawled over the edges like an oversized croissant, and I knew it was time for an upgrade. Instead of spending a small fortune on another bed that wouldn’t last, I pulled out my sewing machine and made one myself. To my surprise, it wasn’t just doable – it was fun.
In this post, I’ll share exactly how I built a dog bed with sides, including:
- The simple materials I used (and how I repurposed old pillows).
- Step-by-step instructions for cutting, sewing, and assembling it.
- Tricks to make it washable and easy to maintain.
- Ideas for adjusting the size to suit different pets.
-
Materials and Tools I Used
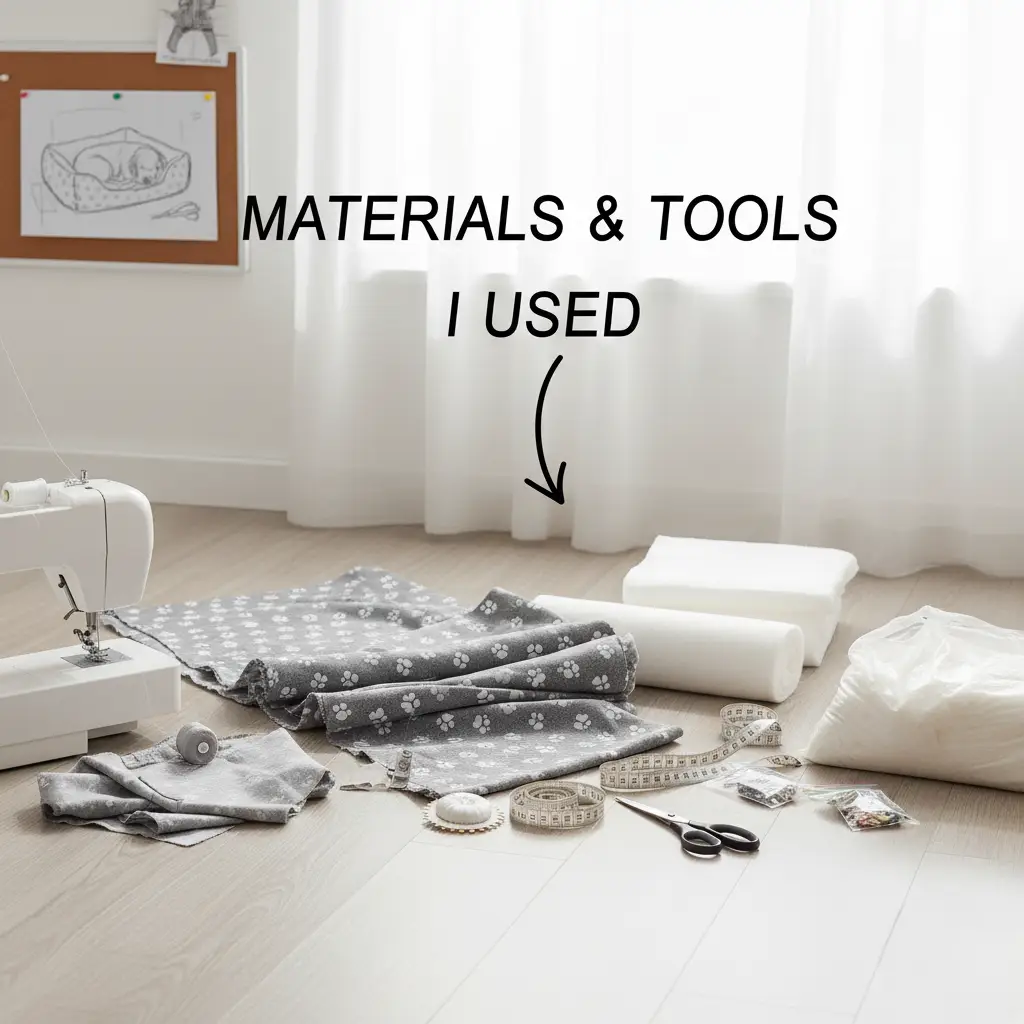
I didn’t buy anything fancy to pull this off. Most of what I needed was already at home, and that’s part of why this project was so cost-effective. Here’s what I used:
- Fabric: I went with cotton duck cloth because it’s durable. Other solid choices are canvas, denim, or heavy cotton. If you want something softer, fleece works, though it may not hold up as long with big dogs.
- Stuffing: I recycled old pillows from the guest room closet. They were perfect for filling both the base and the side walls. If you’d rather buy new, you can use pillow inserts, foam, or even eco-friendly stuffing like shredded fabric scraps.
- Zipper (optional):I added a long zipper to make the cover removable. Velcro is another option, though I’ve found dogs with a talent for chewing might think Velcro is a toy.
- Basic sewing kit: My trusty sewing machine, sharp scissors, pins, and sturdy thread. Nothing special -just the basics.
Choosing the Right Fabric and Size: How to Make a Dog Bed with Sides
The first step to a bed that actually works is measuring your dog. I learned the hard way that “eyeballing it” is not a reliable method. My pup ended up hanging off the edge like he was sleeping on a diving board. Here’s the quick way I fixed that:
- Wait until your dog flops down in their natural sleeping position.
- Measure from nose to tail.
- Add at least 6 inches so they have room to stretch.
That number becomes the length of your bed. For the width, measure shoulder to shoulder and add a few inches.
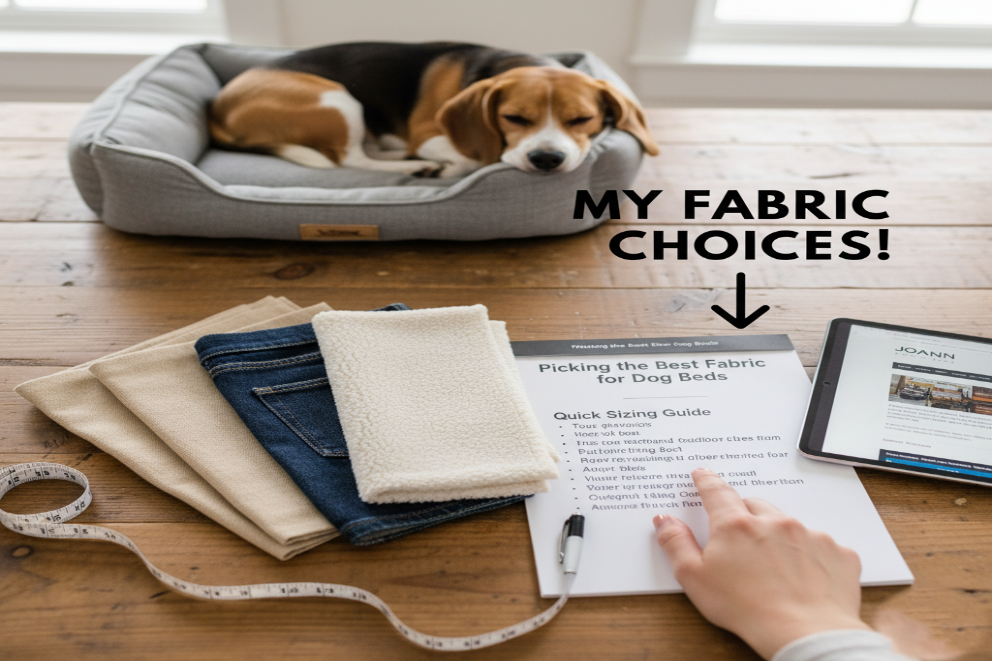
Picking the Best Fabric for Dog Beds with Sides
Fabric choice makes or breaks the project. My rule is simple: if it can’t survive the washing machine, I don’t use it. That’s why I stick with sturdy, washable options like:
- Canvas or cotton duck cloth – Durable and long-lasting.
- Denim – Tough, but still comfortable.
- Fleece – Soft and cozy, though not as rugged for bigger dogs.
- Outdoor fabric: Great for messy pups since it resists stains and moisture.
If you prefer your washable dog bed to last, avoid delicate fabrics like silk or lightweight cotton. They won’t survive muddy paws or multiple laundry cycles.
-
Quick Sizing Guide
- To give you a ballpark, here’s what I follow:
- Small dogs (up to 25 lbs): 20″ x 28″ base
- Medium dogs (25–60 lb): 28″ x 36″ base
- Large dogs (60–90 lb): 36″ x 44″ base
- Extra large breeds: add another 6–10 inches all around
These numbers aren’t an exact science, more like “does my dog look comfortable or like he’s trying to nap on a bar stool?”
- Helpful Resource: Should you be uncertain about which fabric to choose. I often reference fabric guides online. One of my go-to resources is Joann’s Fabric Store, which breaks down durability and care for different materials. It’s a quick way to see whether something is tough enough for a bed cover or better left for making curtains.
Cutting the Fabric
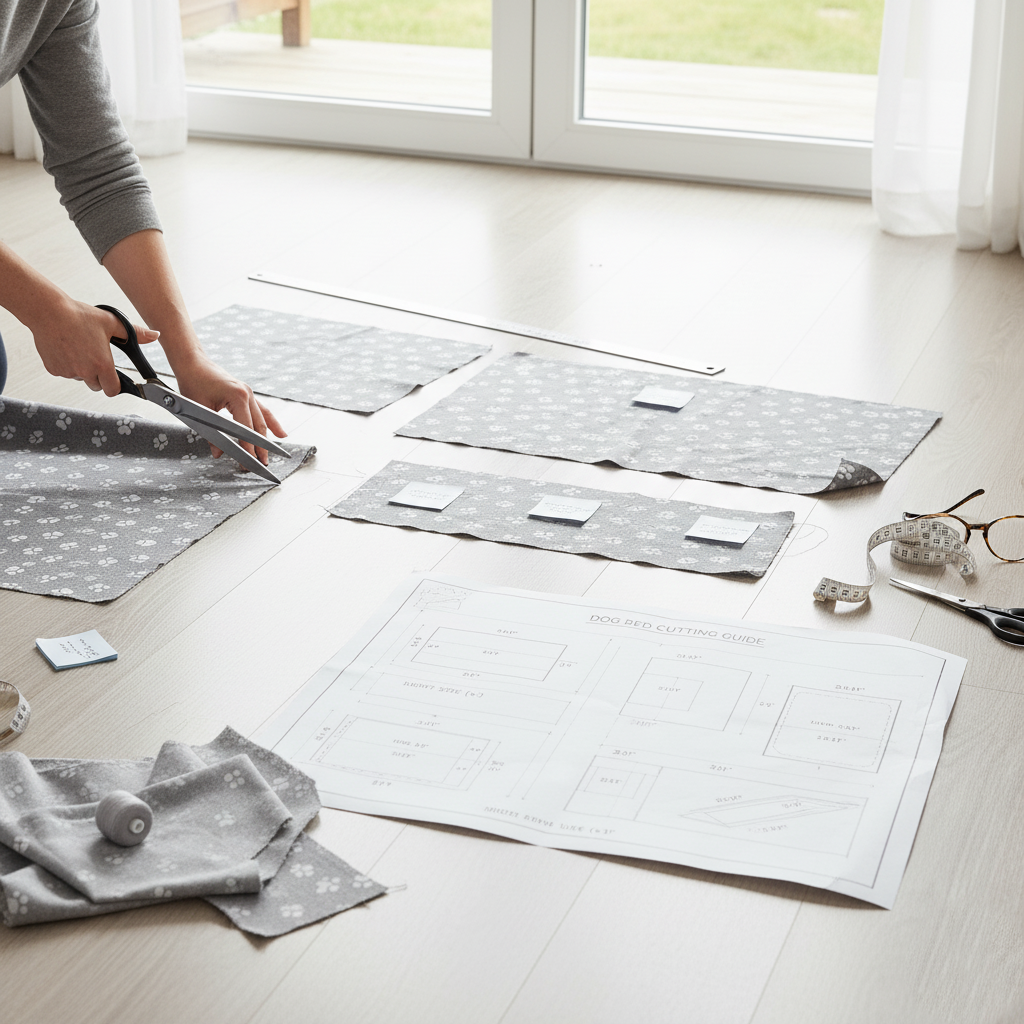
Once I had my measurements, it was time to cut the pieces. This part feels a little like baking: if you get the measurements right, the “recipe” comes together smoothly. If not, well, you end up with a lopsided bed that your dog will still use, but you’ll know better.
Here’s how I broke it down:
Basic Pieces
- Base: 1 rectangle (length of your dog + 6 inches by width of your dog + 6 inches).
- Long sides: 2 strips, same length as the base, and 8–10 inches tall (depending on how high you want the walls).
- Short sides: strips, same width as the base, and 8–10 inches tall.
- Bolster stuffing sleeves: 4 strips of fabric (same dimensions as your sides, but cut a bit wider so you can sew them into tubes).
Example: For a medium dog (about 28″ x 36″ base):
- Base: 34″ x 42″
- Long sides: 42″ x 10″ (x2)
- Short sides: 34″ x 10″ (x2)
- Bolster sleeves: cut 2–3 inches wider than each side panel
- Tips to Keep Cutting Simple
- Use chalk or a washable marker:I learned the hard way that freehand cutting leads to uneven edges. Marking first saves time.
- Add seam allowance: I give myself an extra inch all around. Better too much fabric than too little.
- Cut on a flat surface: Sounds obvious, but I once cut fabric on a carpet, and let’s just say the edges looked like they were chewed by my dog.
- Label each piece: A sticky note or chalk mark helps keep the base from getting mixed up with the sides.
Optional: Cutting Guide
I ended up sketching my pieces out on paper before cutting the fabric. If you’re a planner like me, a printable cutting guide or template can be really handy. It’s basically a sewing map, so you don’t second-guess which piece goes where once you’re ready
-
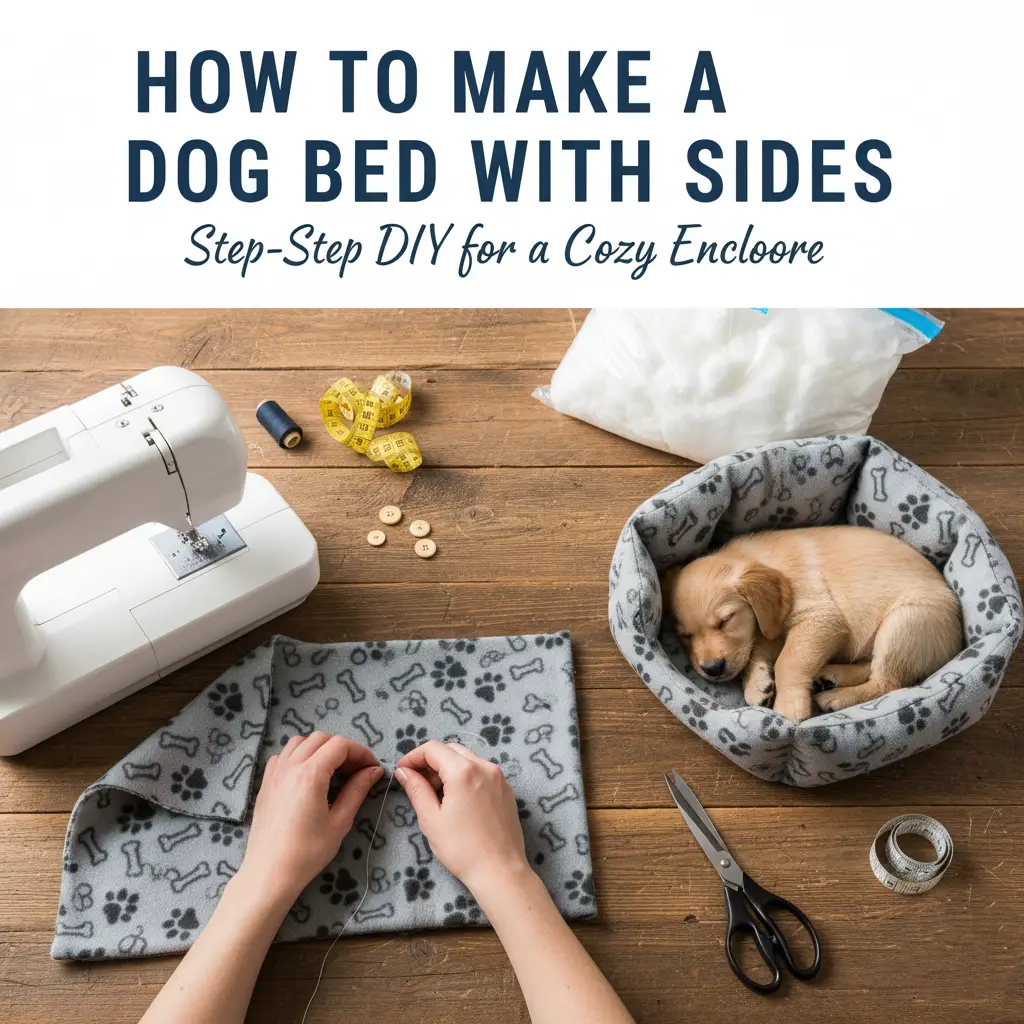
Step-by-Step Instructions: How I Made a Dog Bed with Sides
-
I’m not a professional upholsterer, but breaking this down into small steps made the whole project manageable. Here’s how I did it:
Step 1: Prepare the Bottom and Side Panels
- I laid out all my cut pieces on a flat surface and labeled them: base, long sides, short sides, and bolster sleeves.
- For extra structure, I ironed lightweight interfacing onto the side panels. This kept the walls from flopping over like wet noodles.
- Before moving on, I double-checked measurements. Nothing’s worse than sewing a perfect seam only to find out the piece is too short.
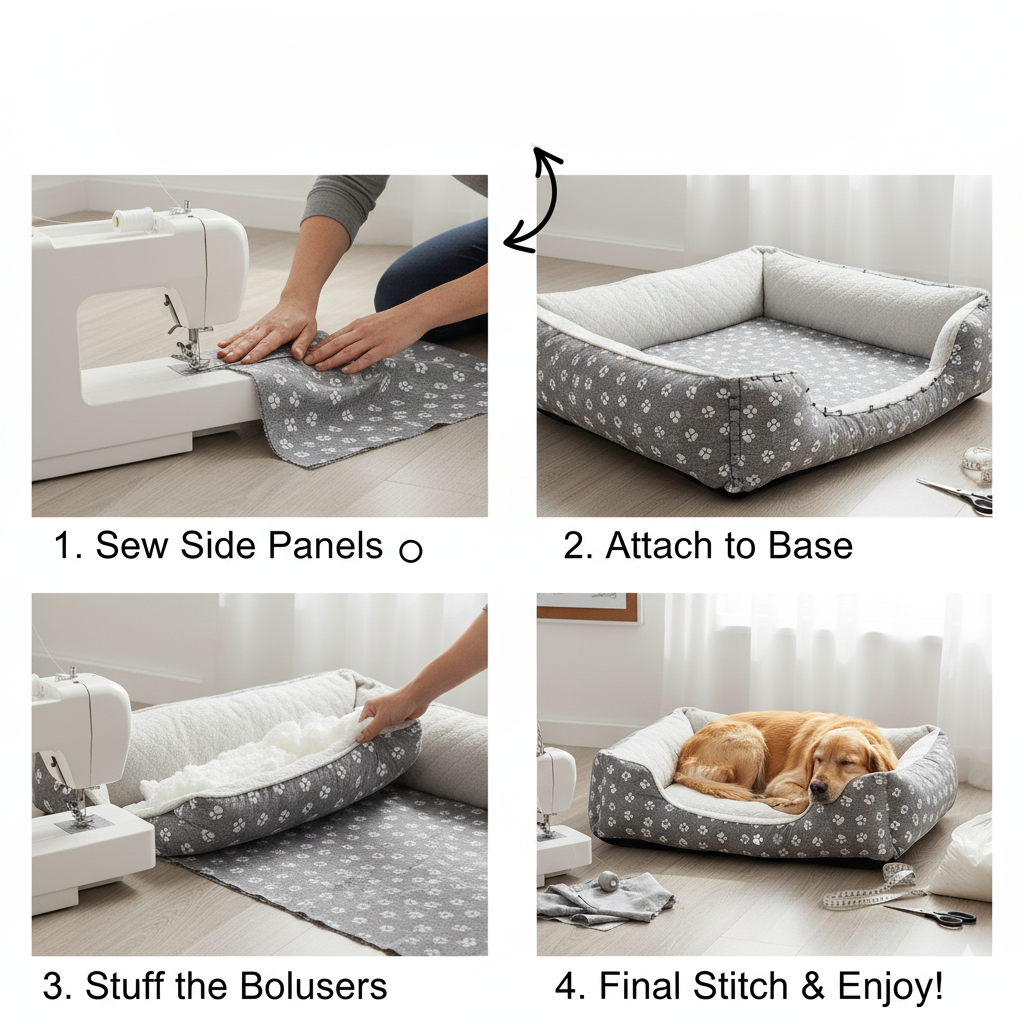
Step 2: Sew the Sides and Form the Bolsters
- I sewed each bolster sleeve into a long tube, leaving one short end open.
- Then, I turned the tubes right-side out and stuffed them. Old pillows worked perfectly; I just rolled the filling into long sausages.
- To keep the stuffing from shifting, I stitched across the tube every 8-10 inches, like sections in a quilt.
Step 3: Attach the Sides to the Base
- With right sides facing, I pinned the long side panels to the base, then added the short sides. I lined up the corners carefully; this makes or breaks the box shape.
- I sewed all the way around, leaving one long edge partly open so I could add the zipper later.
- At this point, the bed looked like a shallow fabric tray, ready to hold the stuffed bolsters.
Step 4: Add a Zipper or Closure (Optional but Highly Recommended)
- I installed a zipper along one long side. It doesn’t have to be perfect; my first attempt wobbled, but it still worked.
- If sewing a zipper feels intimidating, Velcro or large snaps are easier alternatives. Just keep in mind that Velcro may collect fur (and in my house, that’s basically a fur magnet).
- Step 5: Final Touches and Assembly
- I slipped the stuffed bolster tubes into the side panels, then stitched the open ends closed.
- I trimmed stray threads and reinforced the corner seams, since dogs love leaning their weight against the sides.
- Finally, I stuffed the base with old pillows, zipped it shut, and tested the shape. My dog jumped on before I could even admire it.
Tips for Washing and Maintaining Your Dog’s Bed
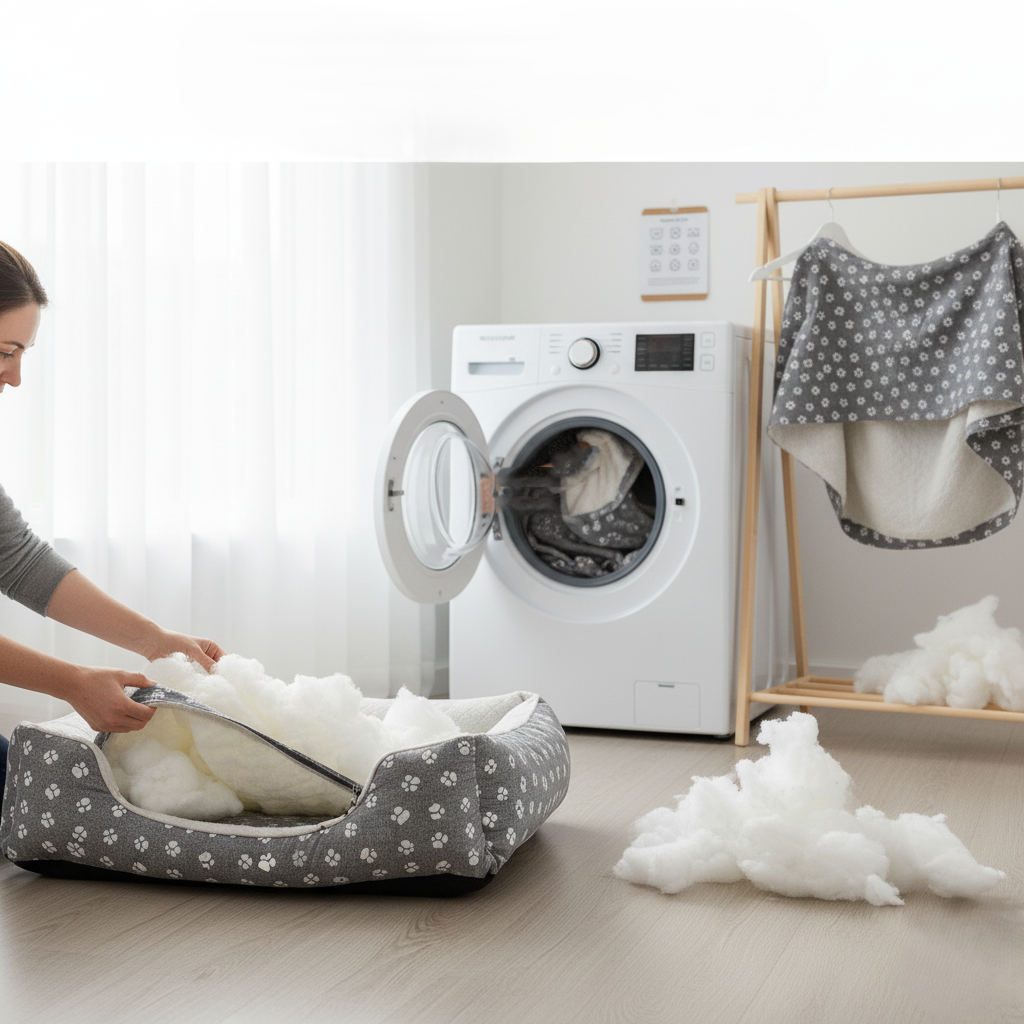
- The biggest win with making my own bed was being able to clean it without a battle. Store-bought ones always turned into a soggy mess, but this washable DIY dog bed actually survives laundry day. Here’s what I’ve learned:
- Machine-Wash vs. Spot Clean
- If you use canvas, denim, or cotton duck cloth, the cover can be washed in the washing machine. Cold water + gentle cycle = safe fabric.
- Fleece covers can also be machine-washed, but they pill over time. I usually air-dry them to make them last longer.
- For outdoor fabrics, most messes wipe off with a damp cloth. I reserve full washes for when it gets really funky.
- Extending the Bed’s Life
- Wash the cover separately from the stuffing. Trust me, putting the whole thing in at once just clumps up the filling.
- Reinforce seams before they fray. A quick stitch now saves a full repair later.
- Rotate the bed every few weeks so one side doesn’t flatten faster than the other.
- Replacing the Filling
- Stuffing doesn’t last forever, and that’s okay. I swap mine out about once a year. Sometimes I reuse old pillows; other times I use shredded foam or fabric scraps. The best part is I don’t have to replace the entire bed, just refresh the inside.
Quick Guide: How to Clean a Homemade Dog Bed
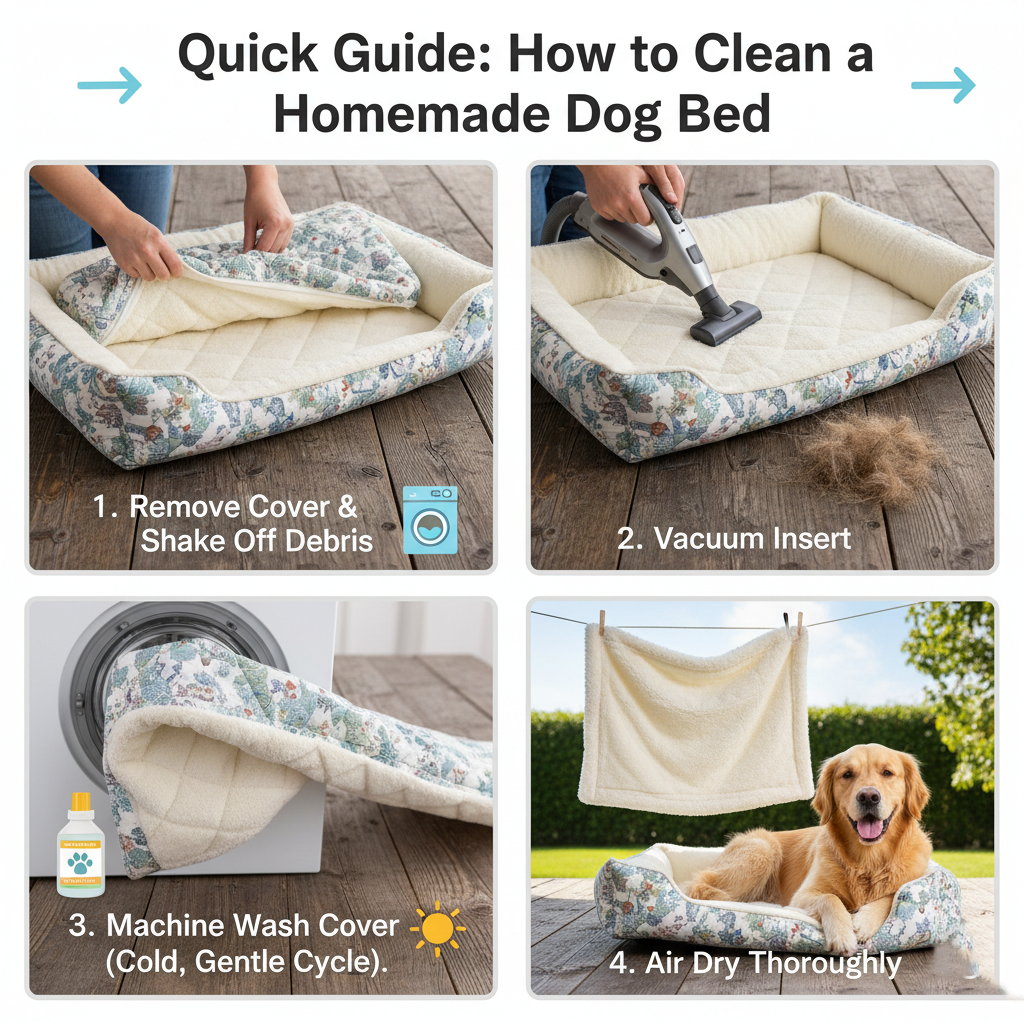
- Unzip or open the closure.
- Remove all stuffing.
- Machine wash the cover on a gentle cycle.
- Dry thoroughly (line drying works best).
- Restuff and close.
It takes me less than 15 minutes to strip it down, and that’s the kind of convenience I needed all along.
Frequently Asked Questions (FAQ)
I get a lot of the same questions whenever I share this project, so here’s a quick round-up of answers:Q: Can I make this bed without a sewing machine?
A: Yes, but I’ll be honest — it’s a workout. Hand-stitching is possible, but it takes much longer, and the seams may not be as strong. If you don’t have a machine, you could try fabric glue for the bolster tubes and then reinforce with hand stitches. For durability, though, a sewing machine makes life much easier.
Q: How much fabric do I need for a medium dog?
A: For a bed about 28″ x 36″, I usually buy 2.5 to 3 yards of 54″ wide fabric. That gives me enough for the base, sides, and bolster sleeves, with some extra in case I make a mistake. If you’re using patterned fabric, get a little more so you can match the design.
Q: What kind of stuffing is best?
A: My go-to is old pillows because they’re free and surprisingly effective. If you want something new, fiberfill or shredded foam works well. For an eco-friendly, washable DIY dog bed, you can even use fabric scraps or recycled stuffing.
Q: Is this design chew-proof or puppy-proof?
A: I’ll be honest: no fabric bed is completely chew-proof. Puppies, especially, think everything is a snack. That said, using heavy canvas or denim helps. I also reinforce seams twice, so curious teeth have a harder time finding a weak spot.
Q: Can I make it orthopedic?
A: Definitely. Swap the pillow stuffing for a memory foam cushion cut to size. It provides support for older dogs or large breeds that require additional joint relief. Slip the foam into a waterproof liner first, then place it inside the cover. That way, you still get an easy-to-clean, homemade dog bed with sides.
Final Thoughts
Making my own dog bed with sides turned out to be one of the most practical projects I’ve tackled. It saved me money, gave me full control over the size and fabric, and best of all, it’s washable. No more wrestling giant lumpy beds into the washer or tossing them out after just a few months.
Pingback: Luxury Dog Beds: - My Blog