
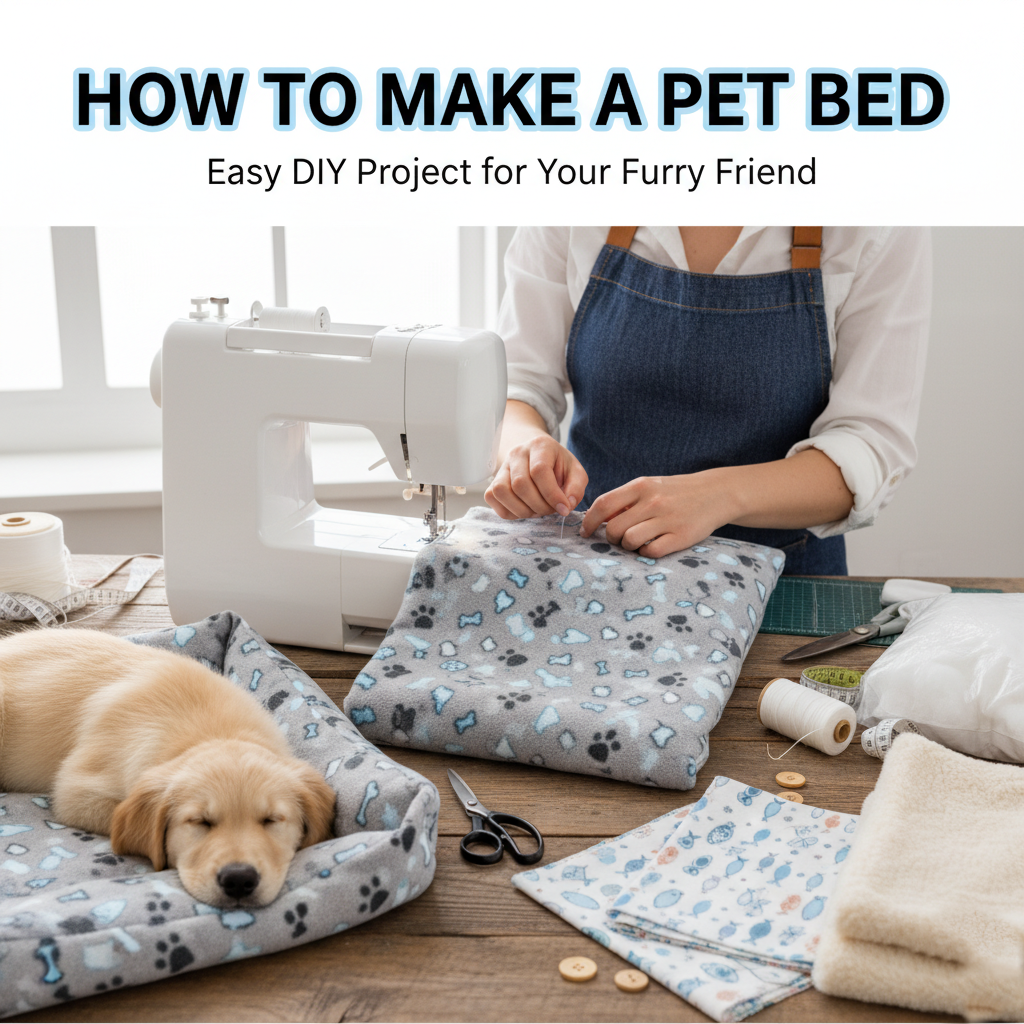
I’ve always had a soft spot for my furry companions, but I’ll admit it—finding them cozy corners around the house was sometimes a challenge. My cat, ever the adventurer, would curl up in laundry baskets, while my older dog claimed one of my throw pillows as his throne. Cute? Absolutely. Practical? Not so much. I knew it was time to create a proper resting spot that was both comfortable for them and stylish enough to blend into my home.
That’s how my little DIY journey began: making a simple, snug, and affordable bed for my pets. Not only would this save me from constantly rescuing laundry baskets, but it would also give my four-legged friends a place to call their own. And honestly, the process turned out to be way more fun than I expected.
Before we dive into the steps, here’s a quick overview of what you’ll learn in this post:
Why I Wanted to Make a Pet Bed (Personal Touch)
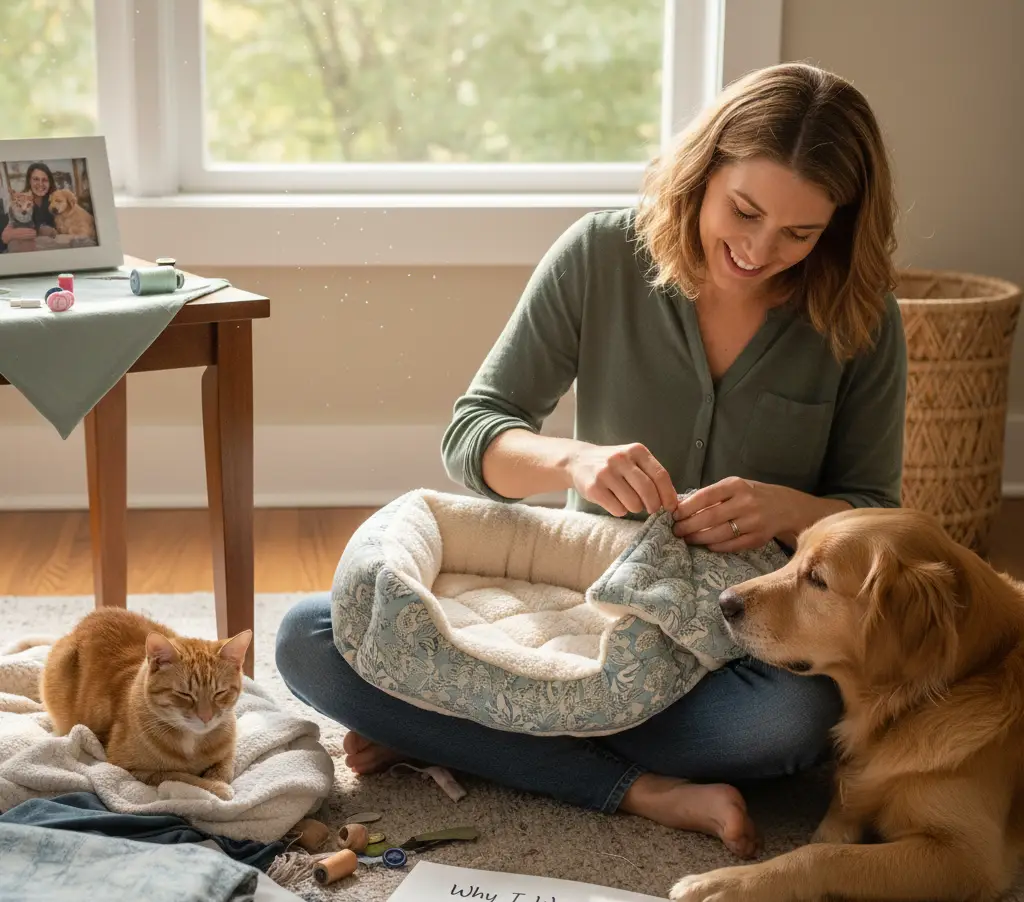
I’ll be honest: my pets have a talent for finding the softest spots in the house, whether I want them to or not. My cat loves curling up in laundry baskets, and my older dog claimed a worn throw pillow as his permanent nap zone. While it was adorable, it didn’t exactly match my kitchen décor, and the constant washing was starting to get on my nerves.
I wanted something intentional—a dedicated space that offered comfort, security, and a touch of style. Making a bed myself meant I could choose fabrics and designs that fit my home while still giving my pets a place they would love. And let’s face it, creating something for them is a way of showing a little extra love—beyond kibble and belly rubs. It wasn’t just about saving money, although that was a bonus; it was about crafting a cozy retreat tailored to their needs.
Supplies I Used (Simple and Affordable)
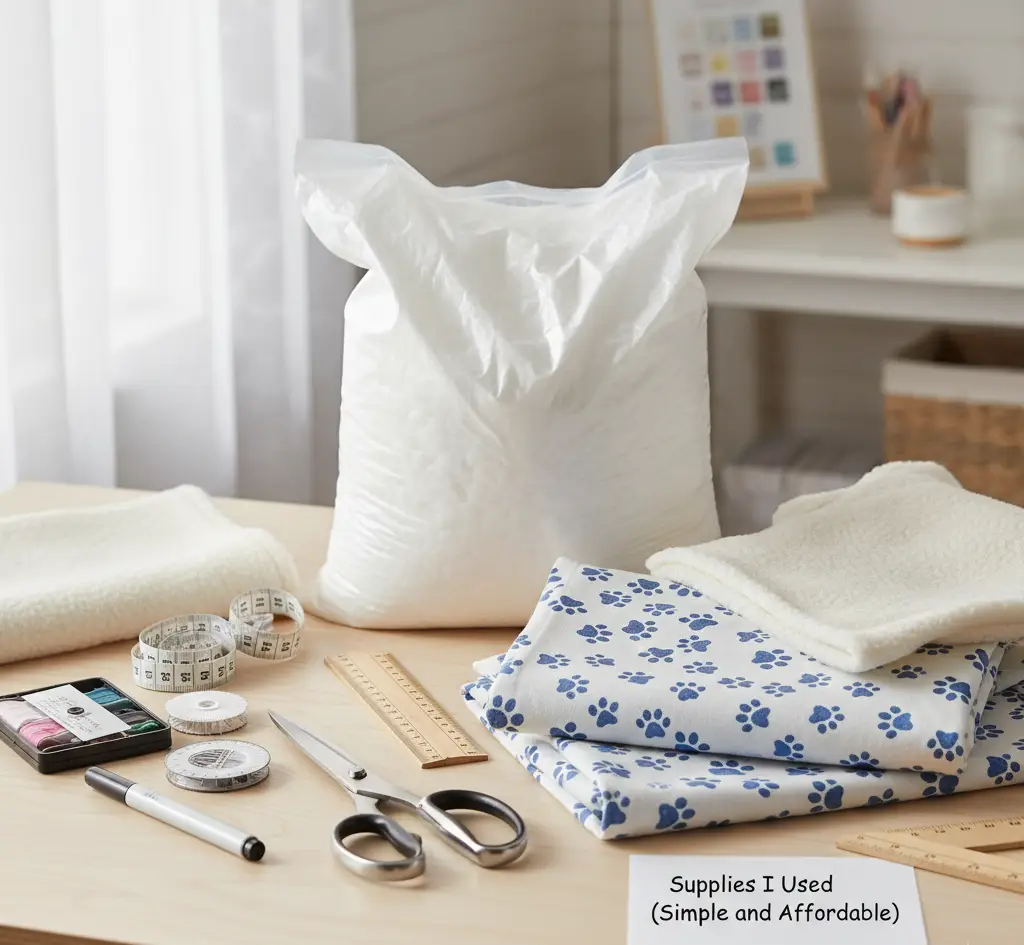
I wanted this project to be as straightforward as possible. No fancy tools or expensive materials—just practical, everyday items. Here’s what worked for me:
- Cushion or pillow: I repurposed an old sofa pillow that had seen better days. Perfect for a base, and bonus—it saved me a trip to the store.
- Soft fabric remnant: I picked a washable, durable piece of fabric that would be comfortable for my pets and easy to clean. Fleece, cotton, or a lightweight blanket all work well.
- Thread and sewing tools: Matching thread, scissors, pins, and a sewing machine (hand-sewing works too, just takes longer).
- Optional extras: A zipper or Velcro for easy removal, buttons for decoration, or even old sweaters for added texture.
One of my favorite things about this project is its flexibility. You can use old blankets, thrifted cushions, or scrap fabric, which makes it both eco-friendly and budget-conscious. No need for expensive materials—the focus is comfort and practicality.
Step-by-Step: How I Made the Pet Bed
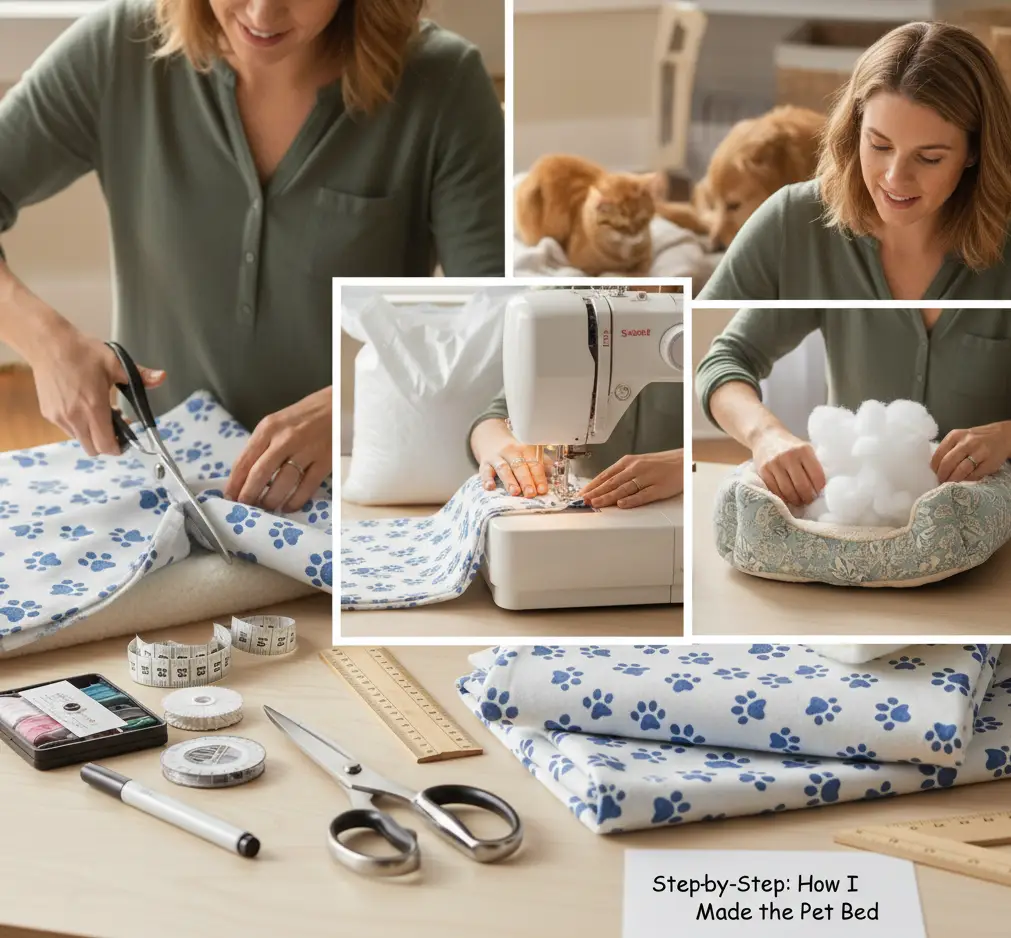
Making the bed was surprisingly simple. Here’s how I tackled it:
- Measure the cushion. I started by measuring the pillow so I’d know exactly how much fabric to cut. Accuracy helps avoid a tight or overly loose fit.
- Cut the fabric. I made sure the edges were even and left a little extra for folding and seams.
- Fold and pin the edges. With the right side of the fabric facing out, I folded the sides toward the middle so they overlapped in the back. This created a natural opening for removing the cover. I pinned everything in place to keep it neat.
- Sew the seams. I stitched along the edges, making sure to leave the back opening functional. This keeps washing and maintenance easy.
- Flip and insert the pillow. After flipping the fabric right side out, I slid the cushion inside. Voilà—a soft, cozy, and functional resting spot for my pets.
Honestly, if I can sew this without poking myself too many times, you can too. The satisfaction of seeing my pets snuggle into their new bed made every stitch worth it.
Variations for Cats vs Dogs Pet Bed
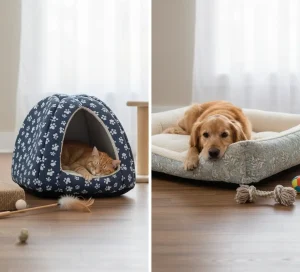
I quickly learned that one size does not fit all. Cats and dogs have very different comfort preferences:
- For cats: Smaller, enclosed spaces are ideal. My cat loves curling up in a tight spot, so I sometimes tuck the cushion into a box or use an old sweater to create a round nest. Cats enjoy the sense of security and warmth these designs provide.
- For dogs: Larger, flat surfaces work best, especially for bigger breeds or older dogs with joint concerns. My older pup enjoys a firmer cushion and extra support for his elbows and hips.
Adjusting the size, shape, and materials is easy, and experimenting with different designs lets you find what your pet truly prefers. Both cats and dogs will quickly claim their favorite nap corner.
Creative Ideas to Try a Pet Bed
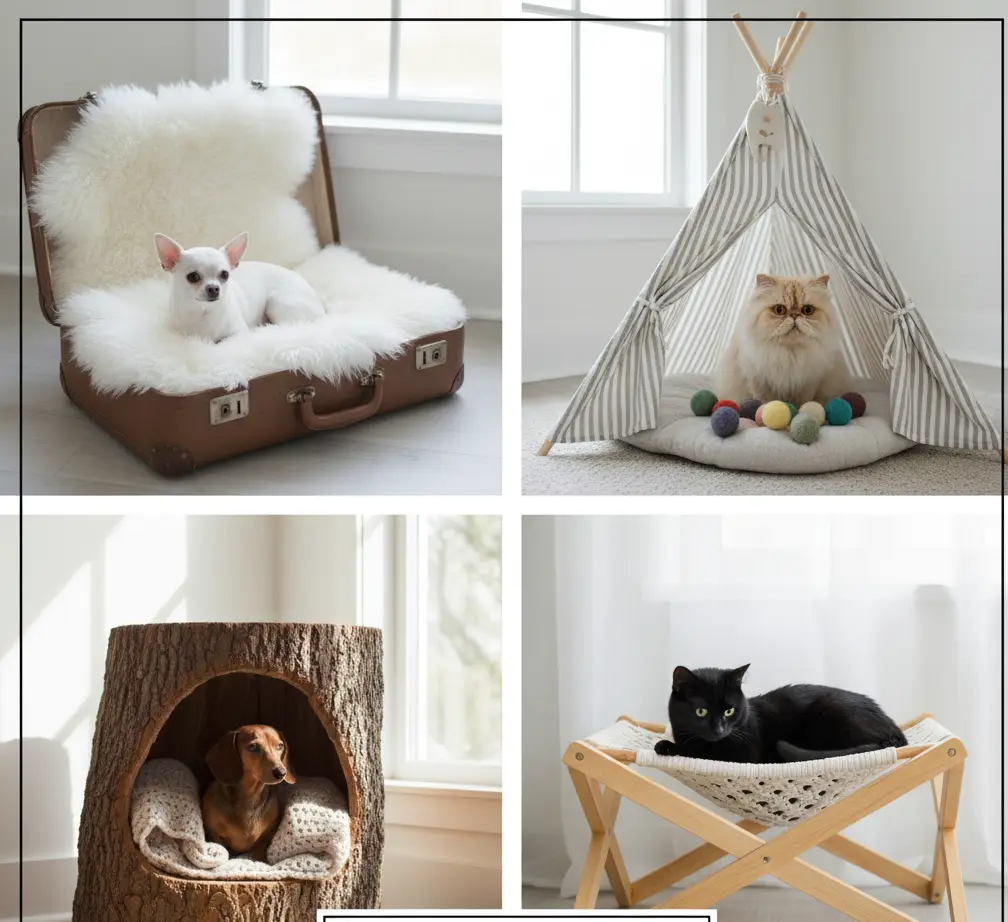
Once the basic bed was done, I couldn’t resist adding a few creative twists:
- Old sweaters: Sewing the arms closed and stuffing them creates a soft, round nest perfect for curling cats.
- Wooden crate base: For a rustic look, I used a wooden crate and placed a cushion inside. Stylish and practical.
- Luxury fabrics: Faux fur or velvet covers add a touch of sophistication if you want a more upscale look.
- Seasonal swaps: Use light cotton in summer and fleece in winter to keep your pets comfortable year-round.
- Multi-purpose beds: Add small pockets for toys or a removable blanket for extra warmth.
The beauty of DIY is that it’s flexible—you can customize every detail while keeping costs low. Plus, watching your pet choose their favorite design is immensely rewarding.
Cleaning and Maintenance Tips

A bed is only as good as it is clean. Here’s what I do to keep mine fresh:
- Removable covers: Machine-washable covers make life much easier. I can swap them out or toss them in the laundry without disturbing the cushion.
- Daily upkeep: Shake out loose fur and give the cushion a quick fluff to maintain its shape.
- Extra tools: Lint rollers or rubber gloves are perfect for stubborn hair.
- Backup covers: Keeping a spare cover handy allows me to rotate them, ensuring there’s always a clean bed ready for use.
A little attention goes a long way. My pets enjoy their beds longer, and my home stays cleaner, too.
Common Mistakes to Avoid
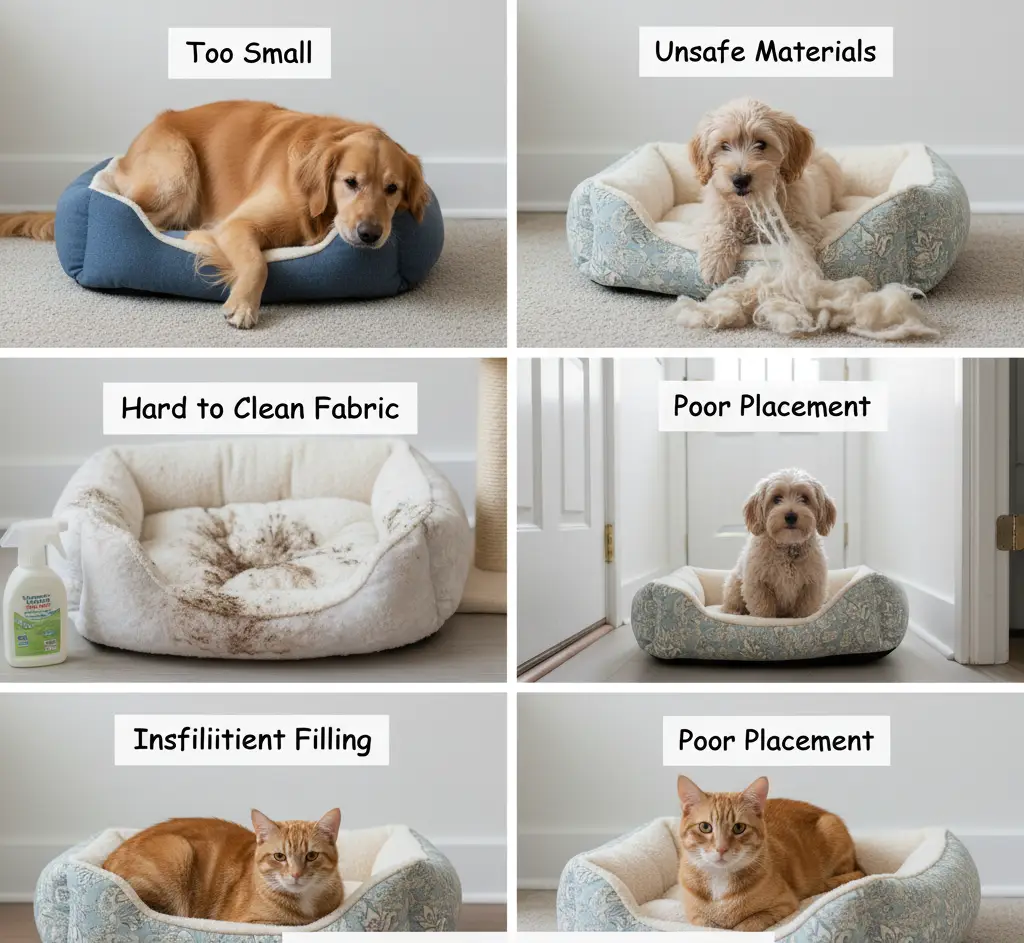
Even simple projects have pitfalls. Here’s what I learned the hard way:
- Choosing the wrong fabric: Avoid materials that shrink or fray—it can ruin the bed after washing.
- Size matters: Too small, and your pet won’t be comfortable. Oversized is better than cramped.
- Forgetting an opening: Always leave a removable cover option; sewing one shut by accident is a hassle.
- Ignoring comfort needs: Older pets or those with joint issues benefit from firmer cushioning.
Planning ensures a cozy, durable space your pets will love for years.
Extra Tips to Make the Bed Even Better
- Add memory foam or an orthopedic insert for older dogs or cats with joint issues.
- Layer with blankets for seasonal adjustments.
- Use natural materials like untreated wood or seagrass mats for extra chew-safe fun.
- Monitor your pet’s behavior; some may prefer a more enclosed space, others a flat, open cushion.
Small tweaks make a big difference in comfort and longevity.
Final Thoughts
Creating a DIY bed for my pets was easier and more rewarding than I expected. They now have their own cozy spots, and my home feels more organized. Laundry baskets no longer double as napping spots, and every nap is now in a dedicated, comfortable corner.
Even if your cat still chooses a cardboard box now and then, at least they have a proper resting place ready for when they want it. Making your own pet bed gives you control over size, fabric, and design while adding a personal touch your pet will love. And honestly, seeing them curl up in something you made with your own hands? Priceless.
Now, if only I could teach them to share it!
Pingback: Cute Cat Bed: A Guide to Cozy, Stylish Spaces - My Blog