
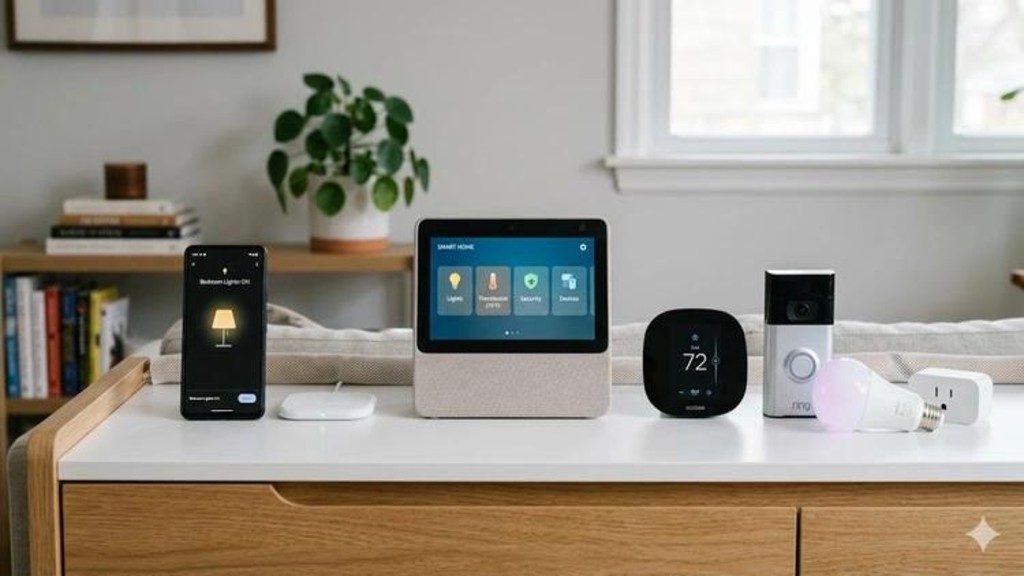
Smart Home Automation Setup can seem complicated when you see dozens of devices, platforms, sensors, and connectivity options.
The good news is that you do not need to automate your entire home on the first day.
A successful smart home automation setup starts with a clear goal, compatible devices, reliable connectivity, and simple routines.
This guide explains how beginners can plan and build a smart home step by step.
-
Follow this smart home automation setup guide to choose compatible devices, connect your system, create routines, and improve security
Smart Home Automation Setup Guide for Beginners
Before buying any device, identify the problem you want to solve.
Do you want:
- Automatic lighting?
- Better home security?
- Easier temperature control?
- Energy management?
- Entertainment automation?
- A simple morning or bedtime routine?
Write down your priorities.
For example:
Goal: Automate hallway lighting
This gives you a clear starting point.
How to Plan Your Smart Home Automation Setup
A smart home platform helps you manage compatible devices and create routines.
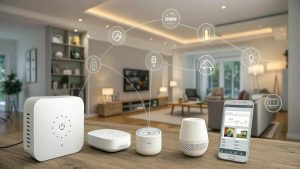
Popular platforms can provide app-based control, voice control, automation features, or integration between devices.
Choosing a platform early can reduce compatibility problems later.
Current beginner guidance commonly recommends choosing a primary platform/ecosystem and checking device compatibility before purchasing.
Choose the Right Smart Home Devices
Do not assume that every smart device works with every platform.
Before purchasing, check:
- Supported platform
- Connectivity method
- Required hub or controller
- Automation support
- App requirements
- Voice assistant compatibility
- Matter support, if relevant
Compatibility is one of the most important parts of building a reliable system.
Step 4: Check Your Wi-Fi Network
Many smart home devices rely on wireless connectivity.
Make sure your network provides reliable coverage in the areas where you plan to install devices.
If you have a large home or weak coverage, you may need to improve your network before adding many devices.
A reliable network is an important foundation for connected-home systems.
Step 5: Start With a Few Devices
You do not need twenty smart devices to create a useful automated home.
Beginners can start with a few simple products such as:
- Smart bulb
- Smart plug
- Motion sensor
- Smart speaker
- Smart thermostat
- Compatible security sensor
Start with the devices that solve your biggest problems.
Step 6: Install the Manufacturer’s App
Most smart devices have a companion application.
Install the appropriate app and follow the manufacturer’s setup instructions.
Depending on the device, setup may involve:
- Creating an account
- Connecting to Wi-Fi
- Adding the device
- Updating firmware
- Assigning a room
- Giving the device a clear name
Smart Home Automation Setup Security Tips
Clear naming becomes increasingly important as you add more devices.
Instead of:
Bulb 1
use:
Living Room Ceiling Light
Instead of:
Sensor 2
use:
Front Door Sensor
Clear names make automation rules easier to understand.
Step 8: Connect Your Devices
Add compatible devices to your chosen platform.
Depending on the products, this may involve Wi-Fi, Bluetooth, Thread, Zigbee, Z-Wave, Matter, or another supported technology.
Do not assume that all devices communicate in the same way.
Follow the manufacturer’s instructions for each product.
Step 9: Create Your First Automation
Start with one simple automation.
For example:
Trigger: Motion detected
Condition: After sunset
Action: Hallway light turns on
This teaches you the basic structure of automation without creating unnecessary complexity.
Step 10: Create Daily Routines
After your first automation works, create routines around your daily activities.
Good Morning
Time → Lights on → Thermostat adjusts
Leaving Home
Away status → Lights off → Selected devices adjust
Good Night
Bedtime → Lights off → Doors lock → Thermostat adjusts
The exact actions depend on the devices and platform you use.
Step 11: Test Your Automations
Never assume an automation works perfectly after creating it.
Test it several times.
Check:
- Does the trigger work?
- Does the correct device respond?
- Does it happen at the correct time?
- Are notifications working?
- Does the automation behave correctly when conditions change?
Testing helps identify problems before they become frustrating.
Step 12: Improve Your Network and Reliability
As you add devices, monitor your system.
If devices frequently disconnect, investigate your network coverage or device-specific requirements.
For larger smart homes, planning connectivity becomes increasingly important.
Step 13: Secure Your Smart Home
Security should be part of the setup process from the beginning.
Use:
- Strong passwords
- Unique passwords
- Updated firmware
- Secure Wi-Fi
- Multi-factor authentication when available
- Reviewed privacy settings
You should also remove devices you no longer use.
Step 14: Create Backup Manual Controls
Automation should make your home easier to use, not leave you helpless when technology fails.
Where appropriate, maintain a manual way to control important functions.
For critical systems such as locks, heating, or security equipment, understand what happens if the internet, power, or controller becomes unavailable.
Step 15: Expand Gradually
Once your first system is reliable, add another category.
For example:
Lighting → Security → Climate → Energy → Entertainment
This gradual approach makes it easier to understand your system and troubleshoot problems.
Smart Home Setup Mistakes to Avoid
Mistake 1: Buying Before Planning
Buying random devices can create compatibility problems.
Mistake 2: Using Too Many Platforms
Managing many separate apps can make your smart home more complicated.
Mistake 3: Ignoring Connectivity
A device is only useful if it can communicate reliably.
Mistake 4: Creating Too Many Automations
Start simple and add complexity only when necessary.
Mistake 5: Ignoring Security
Always treat connected devices as part of your digital environment.
A Simple Beginner Setup
A basic setup might look like this:
Smart Speaker/Controller
↓
Smart Bulbs
↓
Motion Sensor
↓
Smart Plug
Then create simple routines such as:
Motion detected → Light on
Scheduled time → Smart plug on/off
Bedtime → Selected lights off
This gives you practical experience without requiring a complicated installation.
Final Thoughts
A successful smart home automation setup does not happen by buying the most devices.
It happens through good planning.
Choose your goals, select a compatible platform, check your network, start with a few devices, create simple routines, test everything, and expand gradually.
By following these steps, beginners can build a smart home that is useful, manageable, and designed around their everyday needs.