
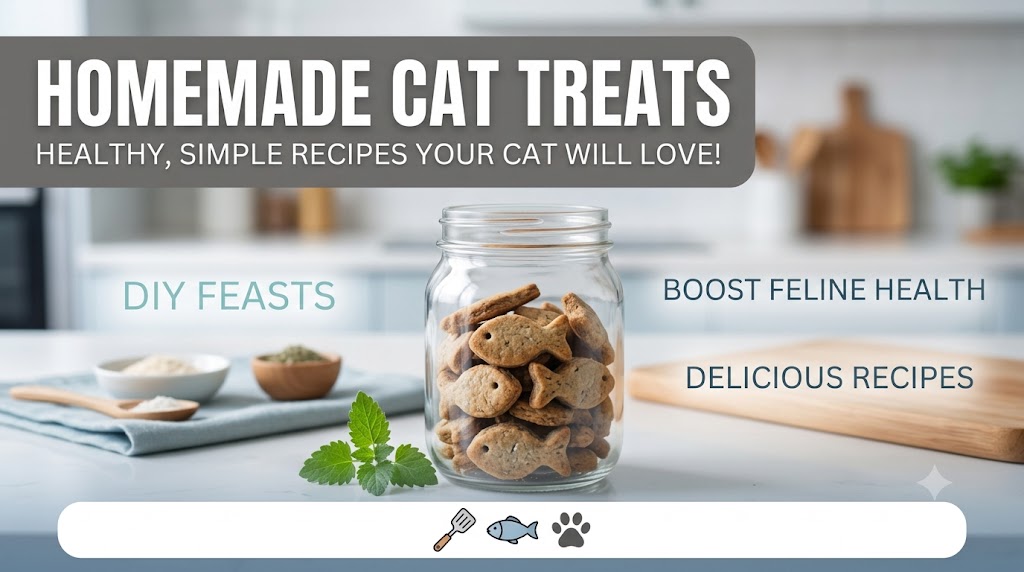
Every cat parent knows that purr of complete satisfaction when their feline companion gets a delicious snack. However, many commercial treats found on store shelves are loaded with artificial preservatives, excessive carbohydrates, and mystery fillers that do not serve your cat’s health. Consequently, learning how to make homemade cat treats gives you complete control over what goes into your pet’s body. Furthermore, preparing your own pet snacks ensures fresh, wholesome ingredients tailored specifically to your cat’s dietary preferences.
In this comprehensive guide, we will explore the nutritional needs of cats, highlight safe versus toxic ingredients, and walk through four distinct recipes—from crunchy baked bites to frozen summer treats. Additionally, because many multi-pet households manage both canine and feline family members, we will discuss how pet care fits into a broader pet health lifestyle.
Why You Should Learn How to Make Homemade Cat Treats
Choosing to make snacks in your own kitchen offers numerous benefits for both you and your cat. First and foremost, commercial pet food recalls happen more often than most pet owners realise. When you prepare snacks at home, you eliminate the risk of unexpected chemical additives or substandard meat sources.
1. Total Ingredient Transparency
When you read the back of a commercial treat bag or homemade cat treats, you often encounter complex chemical names and vague terms like “meat by-products.” On the other hand, preparing treats yourself allows you to use whole food ingredients like wild-caught salmon, organic pumpkin, and cage-free eggs. As a result, you know precisely what your pet is consuming.
2. Tailored to Food Sensitivities
Cats frequently suffer from food allergies or sensitive stomachs. Common commercial triggers include corn, wheat, soy, and artificial food dyes. Therefore, baking at home enables you to substitute troublesome items with hypoallergenic alternatives like oat flour or green peas.
3. Cost-Effective and Bonding
Buying premium, organic cat snacks at pet speciality stores can become quite expensive over time. Conversely, baking a single batch at home costs pennies per serving while utilising everyday pantry staples. Moreover, spending time cooking for your pet strengthens the emotional bond you share with them.
Understanding Feline Nutrition Essentials
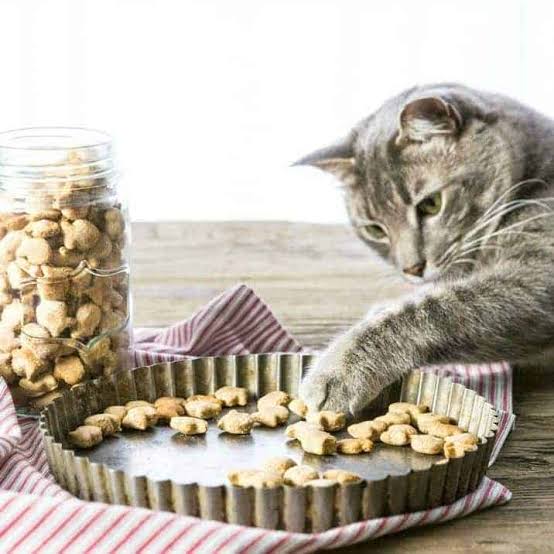
Before jumping into the recipes for homemade cat treats, it is essential to understand that cats are obligate carnivores. This biological distinction means that their bodies are designed to derive energy and essential nutrients primarily from animal proteins and fats. Unlike omnivorous pets, felines have minimal need for carbohydrates in their daily diet.
Essential Nutrients for Cats
-
Taurine: An essential amino acid critical for heart function, vision, and reproduction. It is found naturally in animal tissues.
-
Arginine: Another crucial amino acid that assists in removing ammonia from the body.
-
Arachidonic Acid: An essential fatty acid derived from animal fat that supports skin and coat health.
-
Vitamin A: Cats cannot convert beta-carotene from plants into Vitamin A, so they require preformed Vitamin A from animal sources like liver.
Important Note: Homemade treats are meant to complement a balanced diet, not replace complete daily meals. Treats should never exceed 10% of your cat’s total daily caloric intake according to veterinary nutrition standards established by organizations like the ASPCA.
Safe vs. Harmful Ingredients for Cat Snacks
When organising your kitchen counter for baking, safety must remain your top priority. While many human foods are perfectly healthy for cats, others can cause severe toxicity or digestive distress.
Safe Ingredients to Include
-
Cooked Meats: Chicken, turkey, beef, and lamb without seasonings or bones.
-
Fish: Salmon, tuna, sardine, and mackerel (in moderation).
-
Eggs: Fully cooked eggs provide digestible protein and amino acids.
-
Canned Pumpkin: Pure pumpkin puree (not pie mix) aids digestive regularity.
-
Catnip & Cat Grass: Excellent natural flavours that most felines adore.
Toxic Ingredients to Avoid Completely
-
Onions, Garlic, and Chives: These damage red blood cells and cause anaemia.
-
Chocolate & Caffeine: Toxic to the central nervous system and heart.
-
Grapes & Raisins: Can cause acute kidney failure.
-
Alcohol & Raw Dough: Leads to severe metabolic acidosis and bloating.
-
Xylitol / Birch Sugar: A common sweetener that causes rapid insulin release.
-
Dairy (Milk & Cheese): Most adult cats are lactose intolerant and suffer from diarrhea when given cow’s milk.
For more detailed information regarding food safety for companion animals, consult the comprehensive guidelines provided by the Pet Poison Helpline.
Recipe 1: Crunchy Salmon & Oat Bites
If your feline loves seafood, this recipe is guaranteed to draw them straight to the kitchen. Salmon offers rich omega-3 fatty acids that promote shiny fur and healthy skin.
Ingredients
-
1 canned salmon in water (5 oz, drained)
-
1 cup oat flour (ground whole oats)
-
1 large egg
-
1 tablespoon olive oil or salmon oil
Instructions
-
Preheat Oven: Set your oven to 350°F (175°C) and line a baking sheet with parchment paper.
-
Combine Ingredients: In a food processor, blend the drained salmon, egg, and oil until smooth.
-
Add Flour: Add the oat flour gradually until a firm dough forms. If it feels too wet, add a tablespoon more of oat flour.
-
Shape the Treats: Roll the dough out on a flat surface to roughly 1/4-inch thickness. Use a small cookie cutter or a knife to cut the dough into tiny, cat-sized squares.
-
Bake: Bake for 12 to 15 minutes until the edges are golden and crisp.
-
Cool completely: Allow the bites to cool entirely before serving them to your pet. Store in an airtight container for up to two weeks.
Recipe 2: Savoury Chicken & Catnip Crunchy Squares
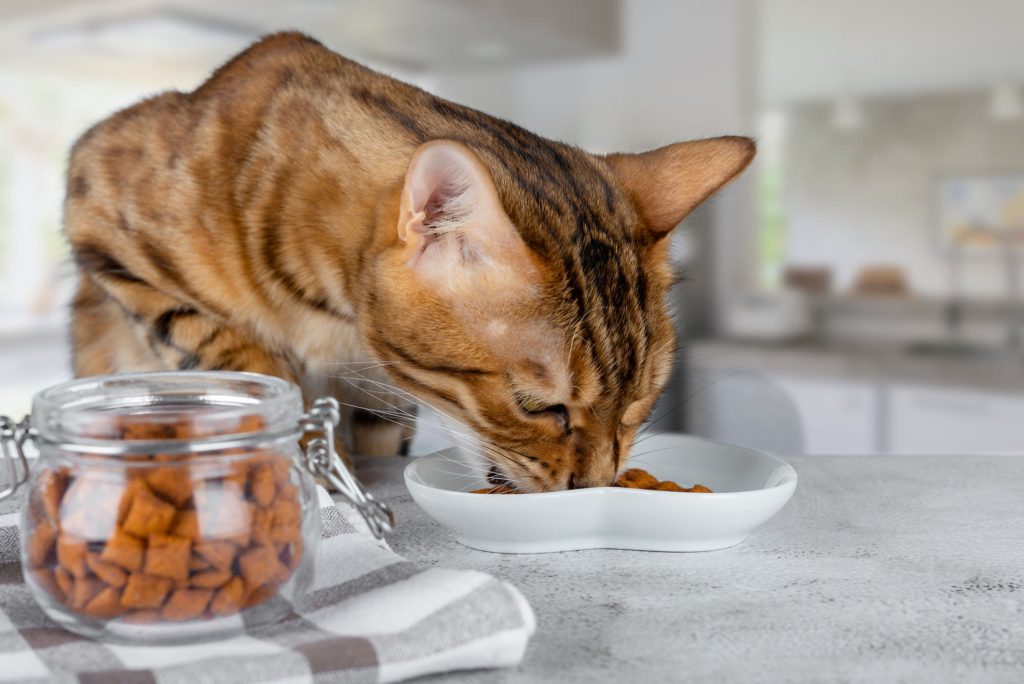
Chicken is a staple protein that agrees with almost every cat’s palate. Adding dried catnip gives these treats an irresistible aroma that makes training sessions effortless.
Ingredients
-
1 cup cooked, shredded chicken breast (unseasoned)
-
1/2 cup oat flour
-
1/2 cup whole wheat flour (or brown rice flour)
-
1 tablespoon dried organic catnip
-
1/2 cup chicken broth (low-sodium, onion-free)
Instructions
-
Prep Oven: Preheat to 350°F (175°C) and line your baking pan.
-
Blend Meat: Puree the cooked chicken and chicken broth in a blender until it reaches a paste-like consistency.
-
Mix Dry Goods: In a bowl, combine the flours and catnip.
-
Form Dough: Stir the chicken puree into the dry ingredients. Mix until a workable dough comes together.
-
Flatten and Cut: Roll out the dough and score it into tiny square bites using a pizza cutter.
-
Bake: Bake for 20 minutes. Turn off the oven and let them sit inside for another 10 minutes to dry out completely for extra crunch.
Recipe 3: No-Bake Tuna & Pumpkin Smoothie Drops
For hot summer days or older cats with dental issues, soft frozen treats are ideal. Pumpkin adds gentle dietary fibre while tuna delivers high-palatability scent notes.
Ingredients
-
1 can water-packed tuna (drained)
-
3 tablespoons pure pumpkin puree
-
2 tablespoons water or tuna juice
-
1/2 teaspoon coconut oil (melted)
Instructions
-
Puree: Place all ingredients into a mini food processor. Blend until completely smooth.
-
Portion: Spoon small, drop-sized amounts onto a parchment-lined tray or into silicone micro-moulds.
-
Freeze: Freeze for at least 2 hours until solid.
-
Serve: Offer one frozen drop directly to your cat or place it in their bowl as a refreshing snack. Keep leftovers in a freezer-safe bag for up to three months.
Recipe 4: Cheesy Chicken Liver Delights
Chicken liver is exceptionally rich in essential vitamins and minerals. While it should be given in moderation, a tiny liver treat can serve as a high-value reward during behavioural training.
Ingredients
-
1/2 cup cooked chicken livers
-
1/2 cup oat flour
-
1/4 cup cooked brown rice
-
1 tablespoon unsweetened applesauce
Instructions
-
Preheat: Set your oven to 325°F (165°C).
-
Mash: Thoroughly mash or blend the cooked chicken livers and brown rice together.
-
Combine: Fold in the applesauce and oat flour until a thick paste forms.
-
Drop: Drop pea-sized portions onto a baking sheet.
-
Bake: Bake for 12 to 14 minutes until firm. Cool thoroughly before serving.
Comparing Homemade Treat Varieties
To help you decide which recipe best suits your schedule and your cat’s specific preferences, consider the quick comparison table below.
| Treat Type | Main Protein | Shelf Life | Texture | Preparation Time |
| Salmon & Oat | Canned Salmon | 2 Weeks (Pantry) | Crunchy | 25 Minutes |
| Chicken & Catnip | Cooked Chicken | 3 Weeks (Pantry) | Very Crunchy | 35 Minutes |
| Tuna Pumpkin Drops | Canned Tuna | 3 Months (Freezer) | Soft / Frozen | 10 Minutes |
| Liver Delights | Chicken Liver | 1 Week (Fridge) | Soft Chew | 20 Minutes |
Balancing Care in Multi-Pet Households
Many cat owners also share their homes with dogs. Managing multiple species requires an understanding of their distinct dietary needs. While cats need high-protein food with taurine, dogs thrive on a broader balance of proteins, complex carbs, and fats.
When sourcing ingredients for your whole household, you might look into selecting the best dog food to ensure your canine companions receive tailored nutrition. Likewise, managing proper dog feeding routines prevents pets from stealing each other’s snacks, which can lead to weight gain or upset digestive systems.
Furthermore, building an active dog lifestyle alongside interactive indoor games for your cat ensures every pet in your home stays physically fit and mentally stimulated.
How to Store and Preserve Homemade Cat Snacks
Because homemade treats lack artificial preservatives, improper storage can lead to spoilage or mould. Following these storage practices will keep your treats fresh and safe:
-
Airtight Glass Containers: Glass jars with rubber seals are far superior to plastic bags for keeping humidity out.
-
Refrigeration is Key: Any treat with high moisture content should be stored in the refrigerator and consumed within 5 to 7 days.
-
Freezing Batch Bakes: If you make a large batch of baked crunchy treats, keep a one-week supply in the pantry and freeze the remainder. Thaw individual portions as needed.
-
Check for Moisture: Always ensure baked treats are fully cooled before sealing them. Warm treats release steam, creating condensation inside the jar that encourages mould growth.
Frequently Asked Questions
How many homemade treats can I give my cat per day?
Treats should make up no more than 10% of your cat’s daily caloric intake. For an average 10-pound indoor cat, this equals roughly 15 to 20 calories per day, or about 2 to 4 small bite-sized treats.
Can I use regular wheat flour for cat treats?
Yes, unless your cat has a known wheat allergy. However, oat flour, coconut flour, or brown rice flour are generally easier for felines to digest than heavily processed white flour.
Can cats eat raw meat treats?
Raw meat carries risks of bacterial contamination such as Salmonella and E. coli. For safety, it is generally recommended to fully cook all meat ingredients before incorporating them into homemade recipes.
Final Thoughts on Homemade Feline Snacks
Learning how to make homemade cat treats is a rewarding journey that empowers you to prioritise your pet’s wellness. By choosing fresh, whole ingredients and omitting artificial preservatives, you provide your feline companion with delicious, nutritious rewards that support their long-term health. Start with a simple recipe like the Salmon & Oat Bites, observe which flavours your cat prefers, and enjoy the satisfaction of cooking for your beloved pet!