
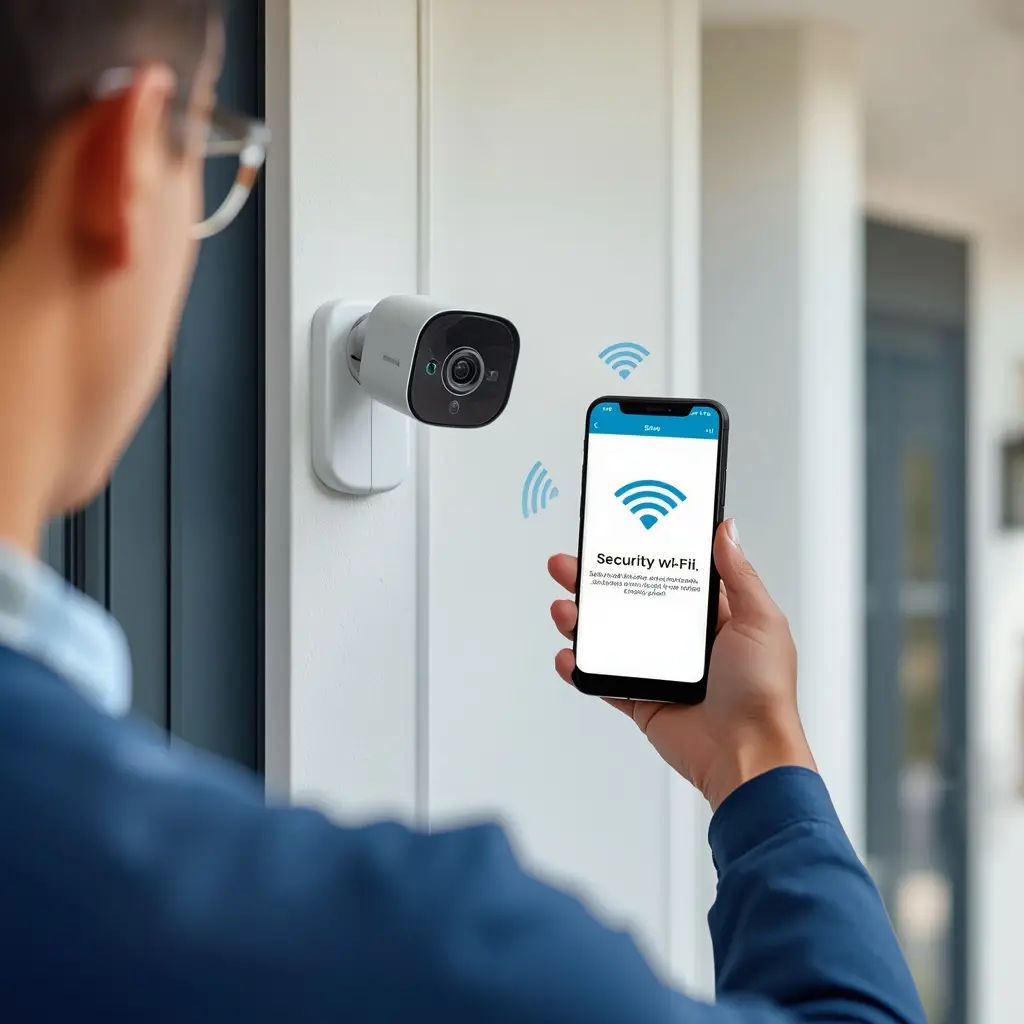
Smart Camera Setup is the first step toward improving home safety. Additionally, a properly installed camera provides real-time monitoring. **As a result**, homeowners can monitor their property from anywhere.
WiFi Camera Setup Smart Camera Setup is the first step toward creating a safer and smarter home. Whether you want to monitor your front door, backyard, or indoor spaces, a properly installed smart security camera provides real-time monitoring and greater peace of mind. Fortunately, most modern smart cameras are designed for quick and easy installation, making them ideal for beginners.
This guide walks you through every step of the setup process, from choosing the best camera location to connecting it to Wi-Fi and optimizing its settings. By following these simple instructions, you can ensure your smart camera delivers reliable performance, accurate motion detection, and dependable home protection.
Why Smart Camera Setup Matters
Installing a smart security camera correctly is just as important as choosing the right model. Even the most advanced camera cannot perform well if it is placed incorrectly or connected to an unstable network.
A proper setup helps you:
- Capture clear video footage
- Reduce blind spots
- Receive accurate motion alerts
- Improve Wi-Fi connectivity
- Protect your privacy and data
- Extend the camera’s lifespan
As a result, spending a little extra time during installation can significantly improve your overall security.
Choose the Best Location for Smart Camera Setup

Before starting the installation, gather everything you need. Preparing in advance makes the process faster and prevents interruptions.
Essential Items
- Smart security camera
- Power adapter or fully charged battery
- Smartphone or tablet
- Stable Wi-Fi connection (2.4 GHz or dual-band if supported)
- Camera manufacturer’s mobile app
- Mounting screws or adhesive mount
- Drill and screwdriver (if wall mounting)
Additionally, make sure your smartphone has Bluetooth and location services enabled if required by the camera app. Best Budget Smart Security Camera: Features & Reviews
Step 1: Choose the Best Camera Location
The placement of your camera has a major impact on its effectiveness.
Outdoor cameras should monitor:
- Front door
- Garage
- Driveway
- Backyard
- Side entrances
Indoor cameras work well in:
- Living room
- Hallway
- Baby room
- Entryway
Avoid pointing the camera directly at bright lights or windows because glare can reduce video quality.
Furthermore, install outdoor cameras around 8–10 feet above the ground. This height provides a wider viewing angle while making the camera difficult to tamper with.
Step 2: Download the Camera App
Every smart security camera comes with its own mobile application.
Visit the Apple App Store or Google Play Store and download the official app recommended by the manufacturer.
Once installed:
- Create an account
- Verify your email address
- Log in securely
- Enable necessary permissions
Using the official app ensures you receive firmware updates and security improvements. See more
Step 3: Connect the Camera to Power
Next, connect the camera to its power source.
For wired cameras:
- Plug the adapter into a nearby outlet.
- Wait until the status light begins flashing.
For battery-powered cameras:
- Fully charge the battery before installation.
- Insert the battery according to the manufacturer’s instructions.
Most cameras indicate setup mode with a blinking LED light.
Step 4: Connect to Wi-Fi
This is one of the most important steps in this Smart Security Camera Setup Guide.
Open the mobile app and choose Add Device.
The app will usually ask you to:
- Select your camera model.
- Scan the QR code on the camera.
- Enter your Wi-Fi password.
- Wait for the camera to connect.
For the best performance:
- Use a strong Wi-Fi signal.
- Avoid placing the camera too far from the router.
- Use the recommended Wi-Fi frequency.
If the signal is weak, consider using a Wi-Fi extender.
Step 5: Mount the Camera
After confirming the camera works properly, install it permanently.

If mounting outdoors:
- Use weather-resistant screws.
- Secure the mounting bracket tightly.
- Keep cables protected from rain.
For indoor installation:
- Place the camera on a shelf.
- Use adhesive mounts if drilling is unnecessary.
- Ensure the camera remains stable.
Finally, adjust the viewing angle before tightening all screws.
Step 6: Adjust Camera Settings
Now customise the camera according to your needs.
Important settings include:
Motion Detection
Adjust the sensitivity to reduce false alerts caused by pets, trees, or passing vehicles.
Activity Zones
Create custom zones so the camera only monitors important areas.
Video Quality
Choose HD or Full HD resolution for clearer recordings.
Higher resolutions offer better detail but require more storage.
Night Vision
Ensure infrared night vision is enabled for around-the-clock monitoring.
Step 7: Test the Camera
Before finishing the installation, perform several tests.
Walk in front of the camera and verify:
- Motion alerts arrive quickly.
- Live video loads smoothly.
- Video quality is clear.
- Audio works properly.
- Night vision activates automatically.
Testing helps identify any issues before relying on the camera for security.
Step 8: Secure Your Camera
Smart security cameras connect to the internet, so protecting your account is essential.
Follow these security tips:
- Create a strong password.
- Enable two-factor authentication.
- Keep firmware updated.
- Change default login credentials.
- Avoid public Wi-Fi during setup.
- Regularly review connected devices.
These simple practices significantly improve cybersecurity.
Common Setup Problems and Solutions
Even though installation is usually straightforward, you may encounter a few issues.
Camera Won’t Connect to Wi-Fi
Possible causes include:
- Incorrect password
- Weak signal
- Unsupported Wi-Fi frequency
Solution:
Move the camera closer to the router and reconnect.
Motion Alerts Are Too Frequent
Reduce motion sensitivity or create activity zones to ignore unnecessary movement.
Live Video Keeps Buffering
This usually indicates a slow internet connection.
Restart your router or reduce video resolution if necessary.
Camera Goes Offline
Check:
- Power supply
- Wi-Fi connection
- Firmware updates
Restarting both the router and camera often resolves the issue.
Maintenance Tips
Regular maintenance keeps your camera working efficiently.
Every few weeks:
- Clean the camera lens.
- Check mounting screws.
- Update firmware.
- Test notifications.
- Review recorded footage.
- Inspect battery levels if using wireless cameras.
Proper maintenance helps maintain reliable performance throughout the year.
Benefits of a Proper Smart Security Camera Setup
Following this smart security camera setup guide offers several advantages.
These include:
- Better home security
- Faster installation
- Reliable motion detection
- Clearer video footage
- Improved remote monitoring
- Reduced false alarms
- Enhanced privacy protection
Moreover, a correctly installed camera provides dependable performance when it matters most.
Frequently Asked Questions
How high should I install a smart security camera?
Most experts recommend installing outdoor cameras between 8 and 10 feet above the ground.
Do smart security cameras need Wi-Fi?
Yes. Most smart cameras require Wi-Fi for live viewing, notifications, and cloud storage.
Can I install a smart security camera myself?
Absolutely. Most modern cameras are designed for DIY installation using the manufacturer’s mobile app.
How often should I update the camera?
Finally Check for firmware updates regularly and install them whenever available to improve performance and security.
Wrapping Up
Installing a smart security camera does not have to be complicated. Furthermore, with the Smart Camera Setup Guide, you can complete the installation quickly and enjoy reliable home monitoring. Moreover, from choosing the best location to securing your account with strong passwords and firmware updates, every step contributes to better protection.
Whether you are setting up your first smart camera or upgrading your existing security system As a result taking the time to install it properly will ensure clear video, accurate alerts, and long-term reliability. Ultimately, with the right setup, you can monitor your home confidently from anywhere and enjoy greater peace of mind every day.